
Edit / Delete Timesheet
This training will teach you how to accurately log and manage your timesheets using Office1solution.
Go to app.office1solution.com
1. Introduction
You will learn to add, edit, and submit timesheet entries to ensure proper time tracking.
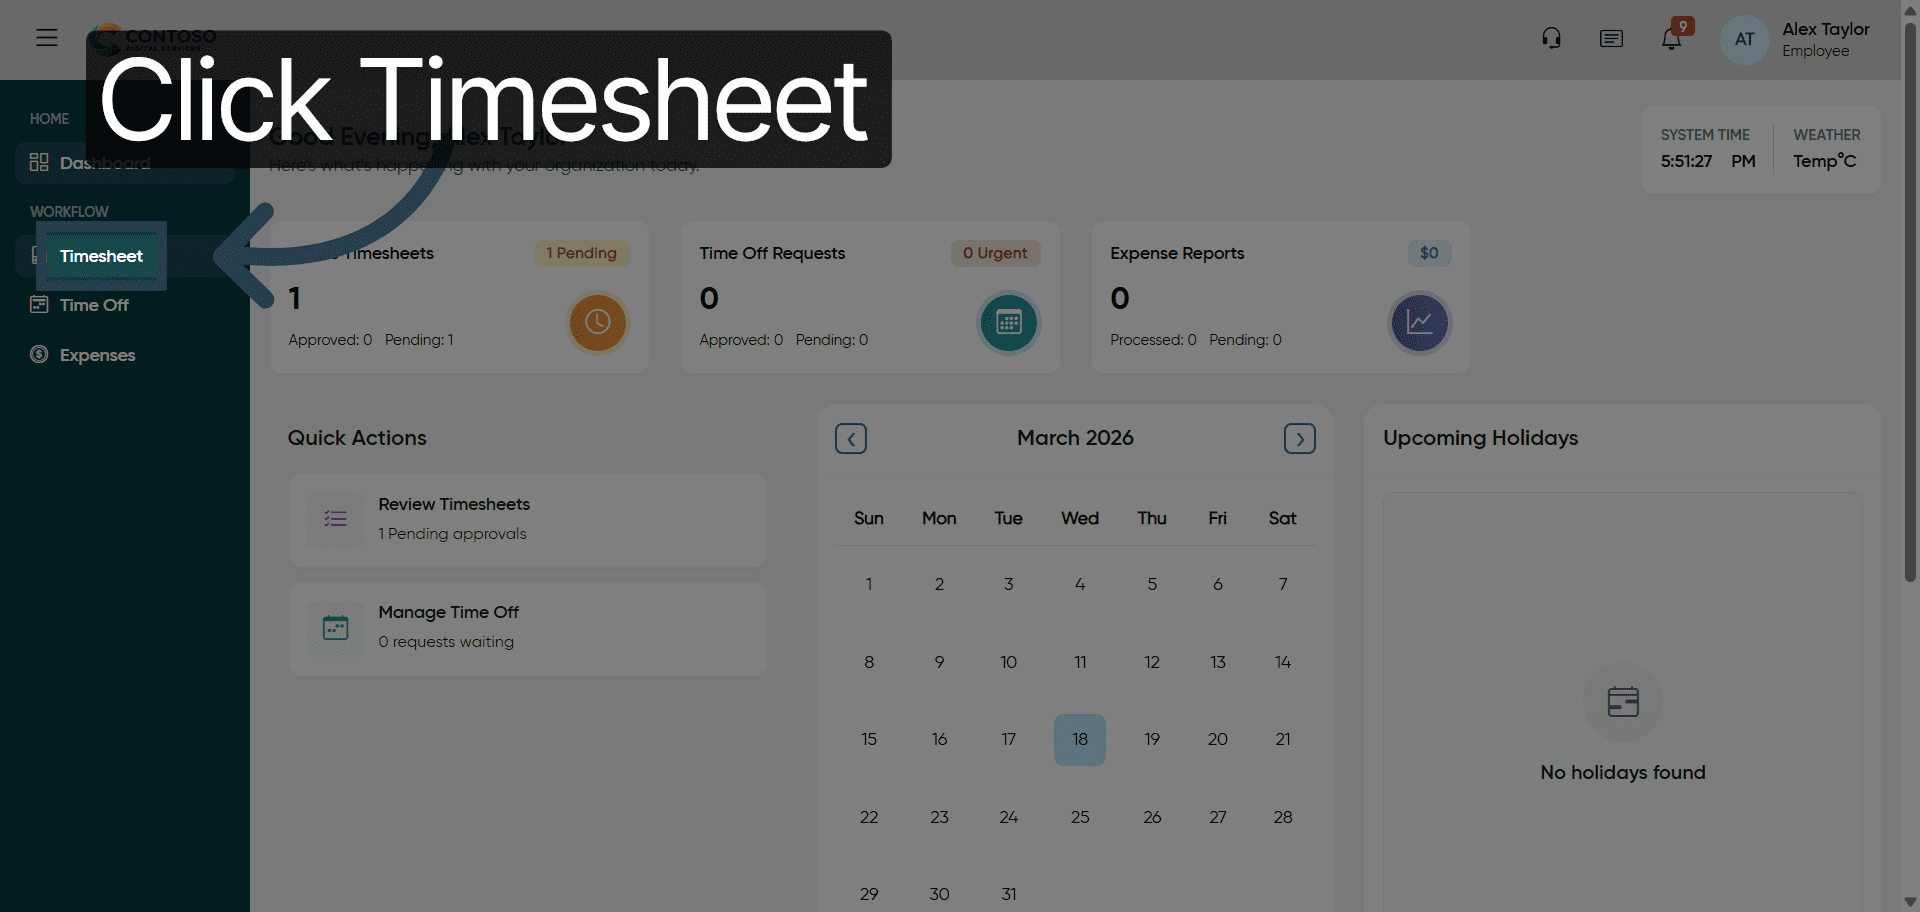
2. Access Timesheet Section
Click the Timesheet section to begin managing your work hours.
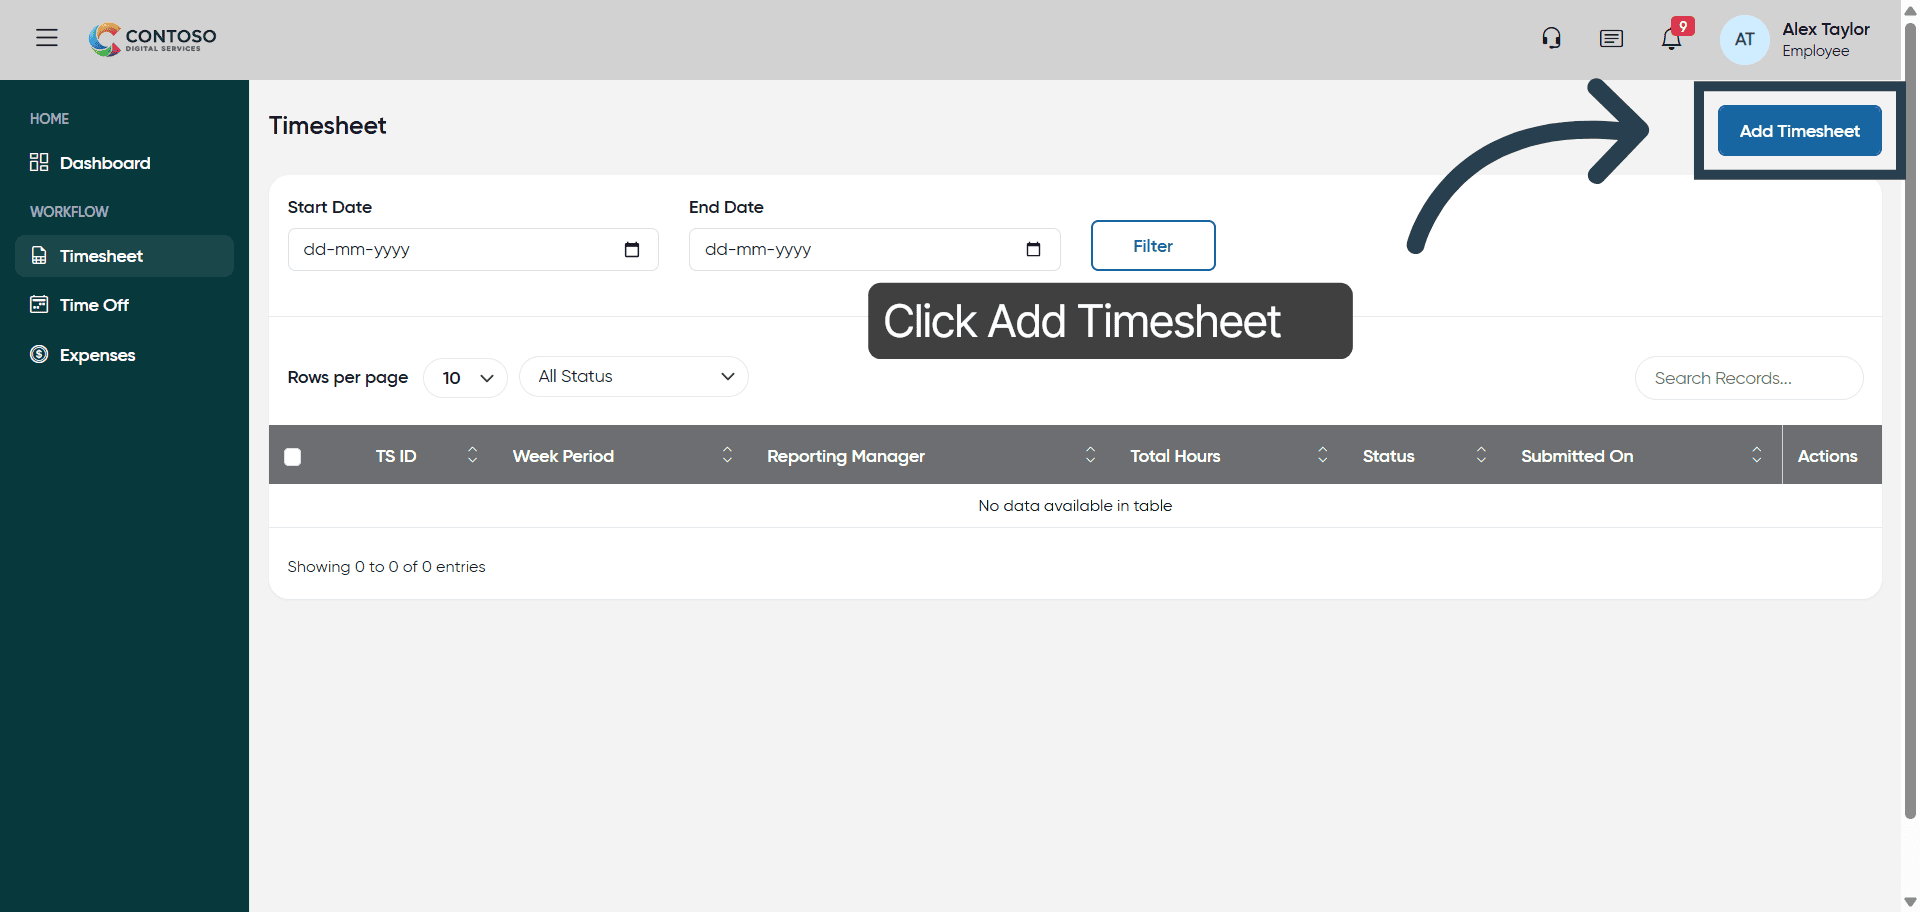
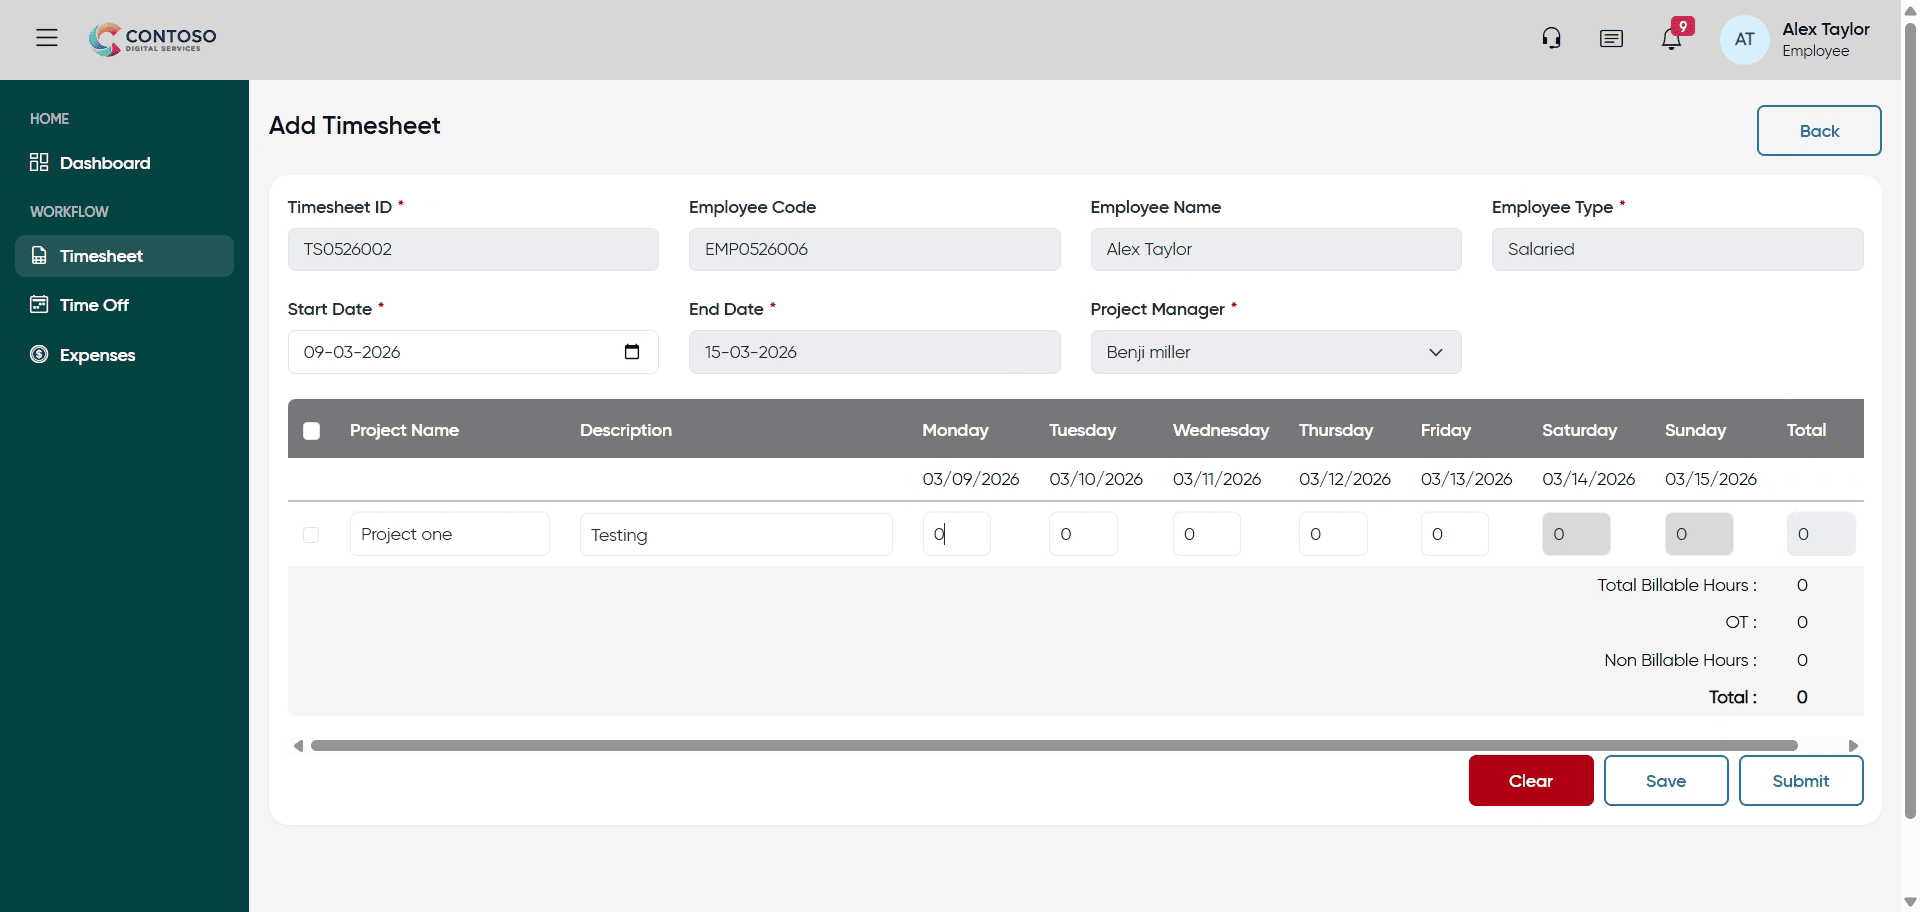
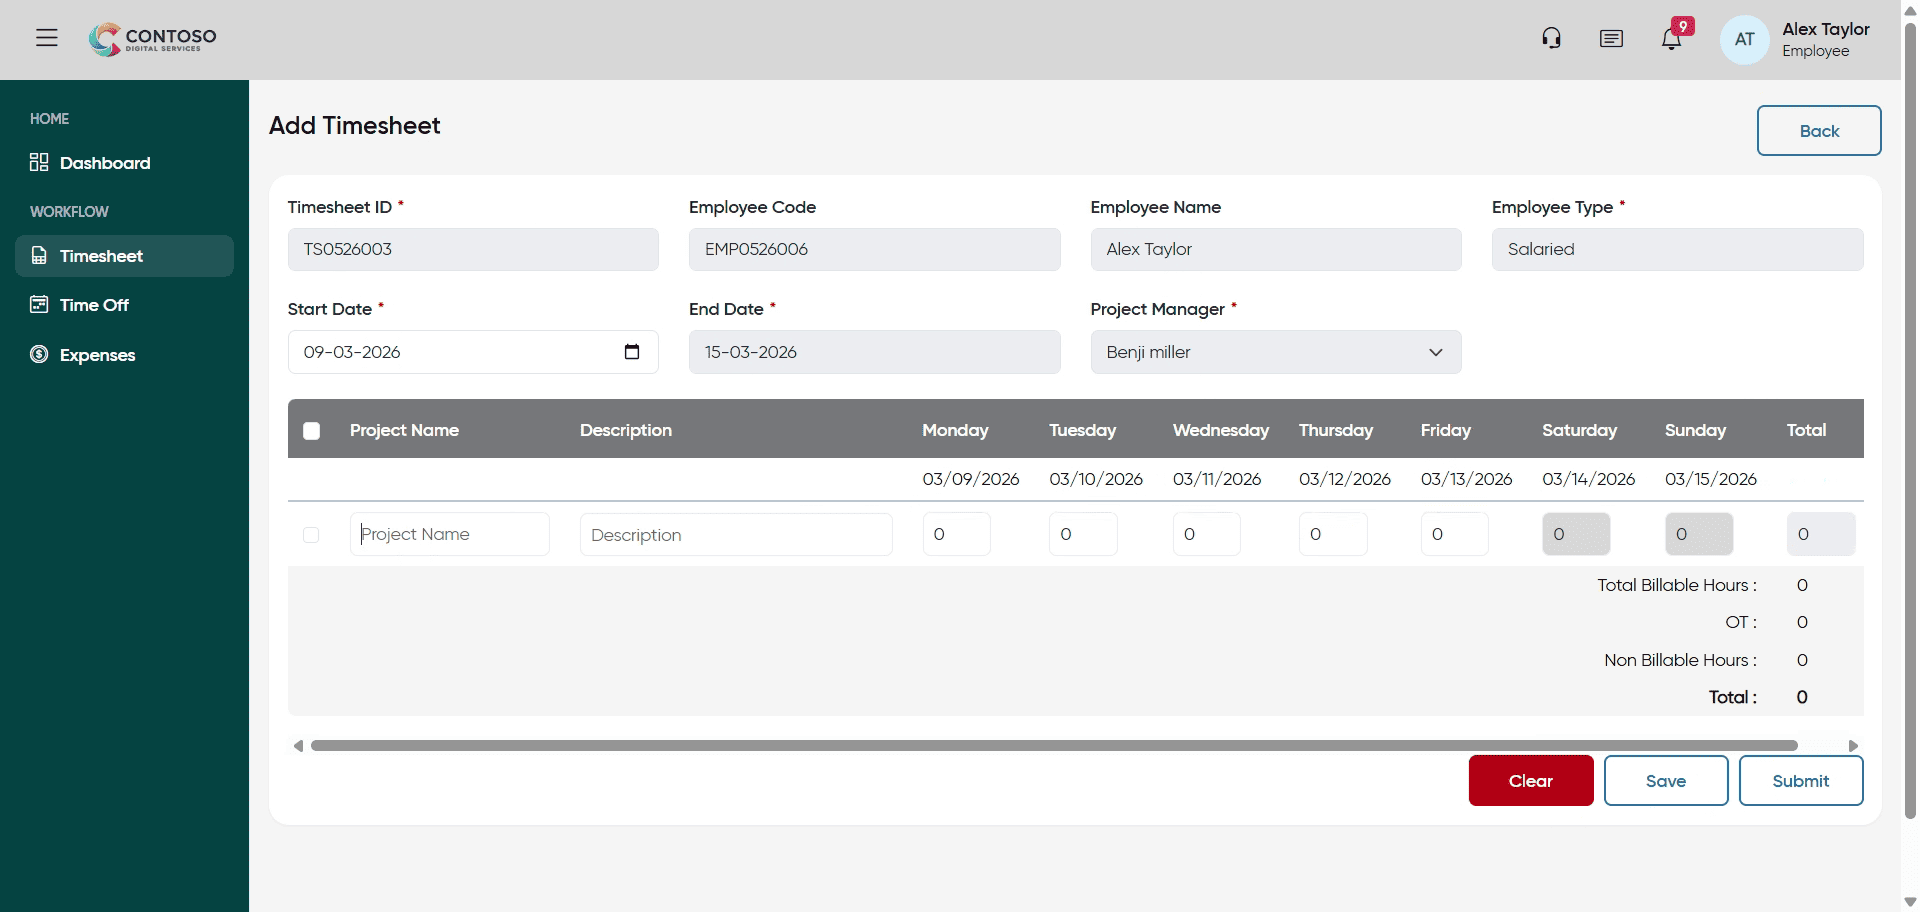
3. Open Add Timesheet Form
Click Add Timesheet to start entering a new timesheet record.
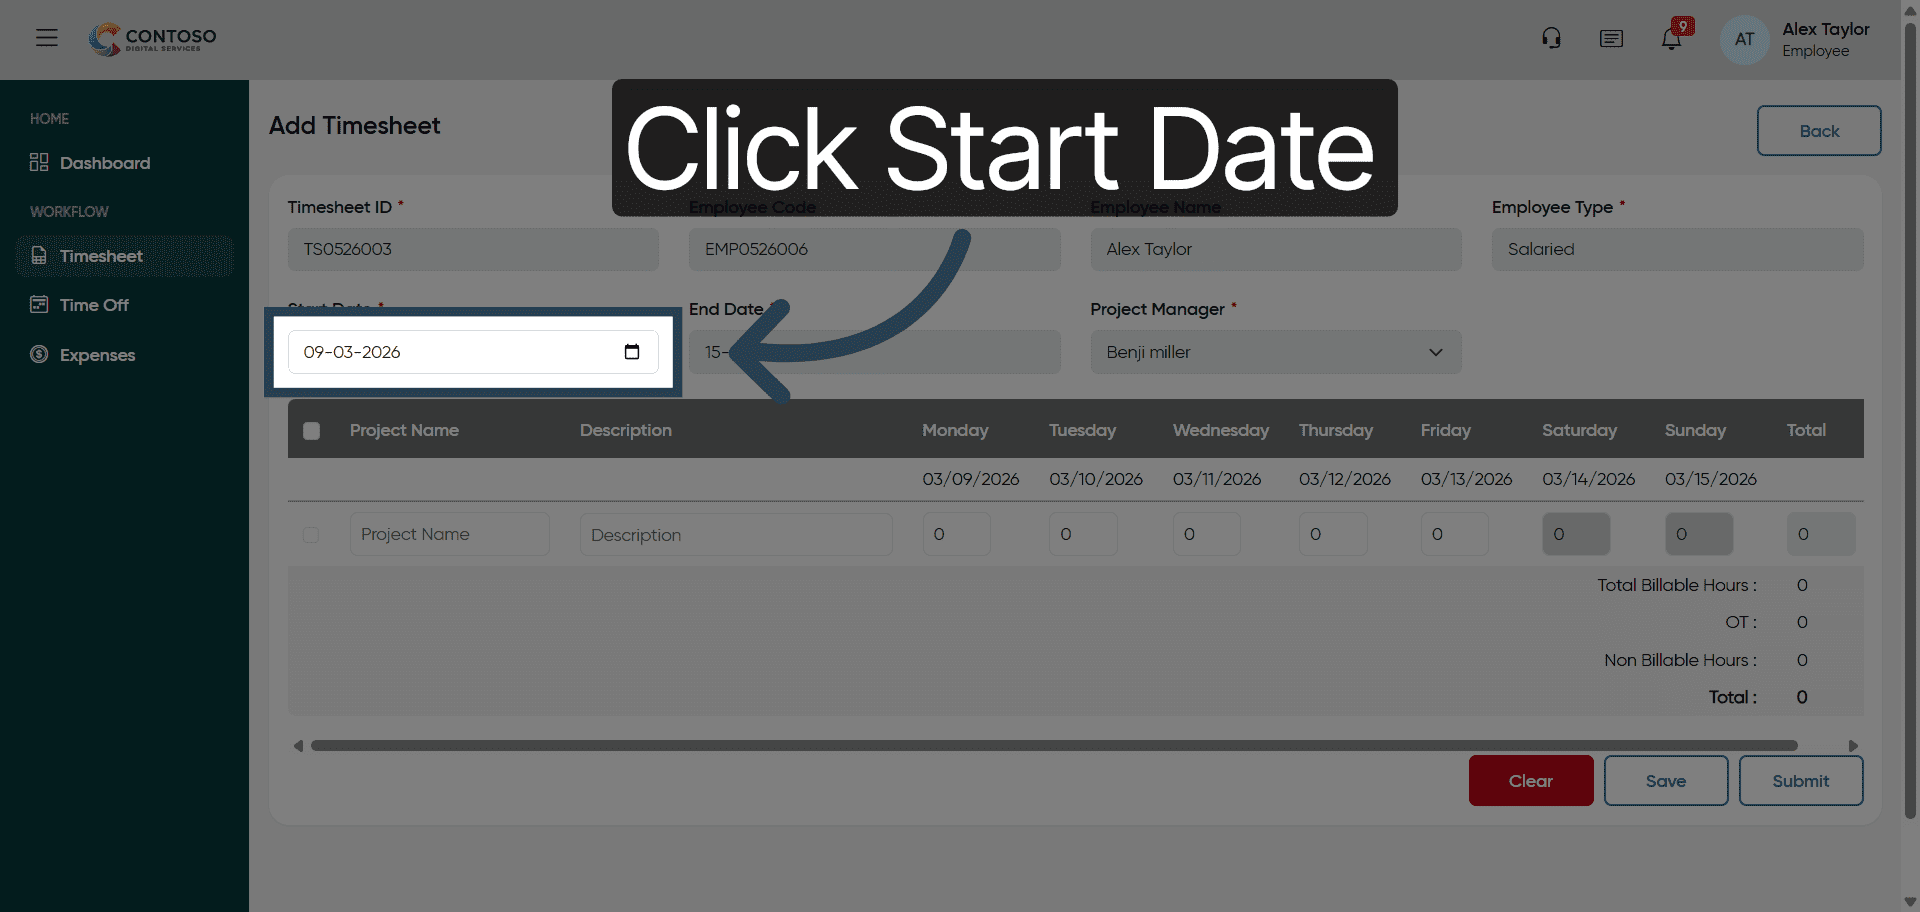
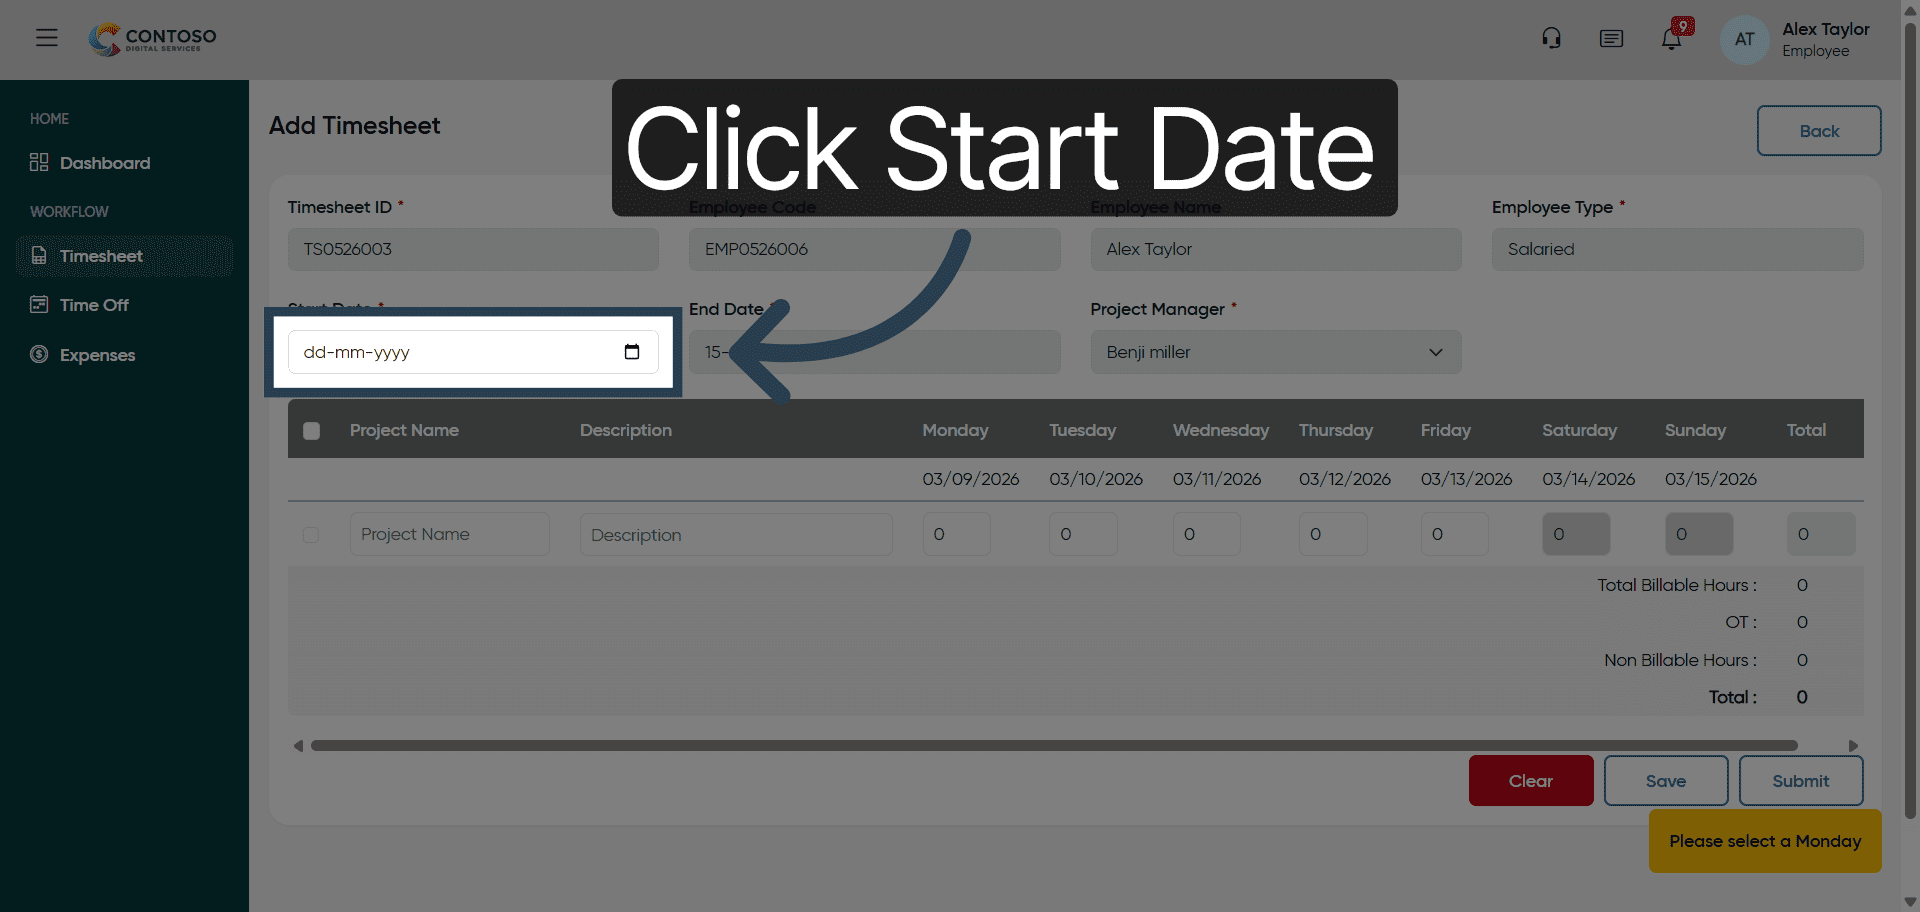
4. Select Start Date Field
Click the Start Date field to specify the beginning date for your timesheet entry.
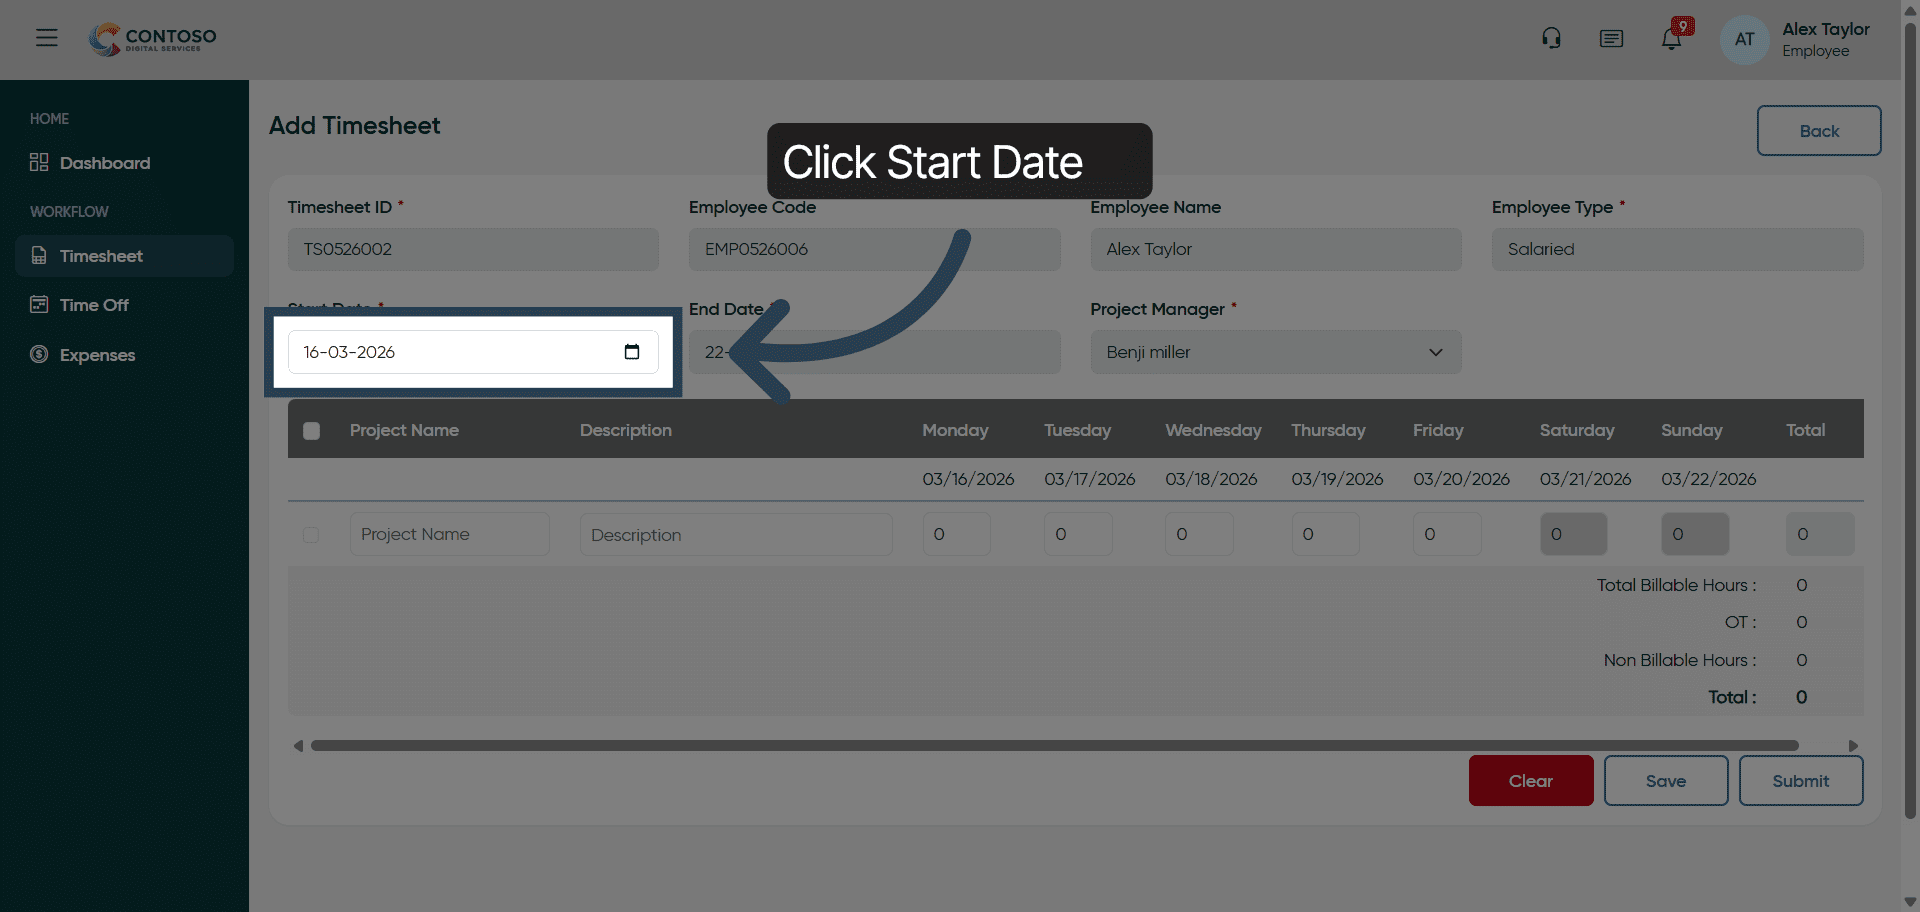
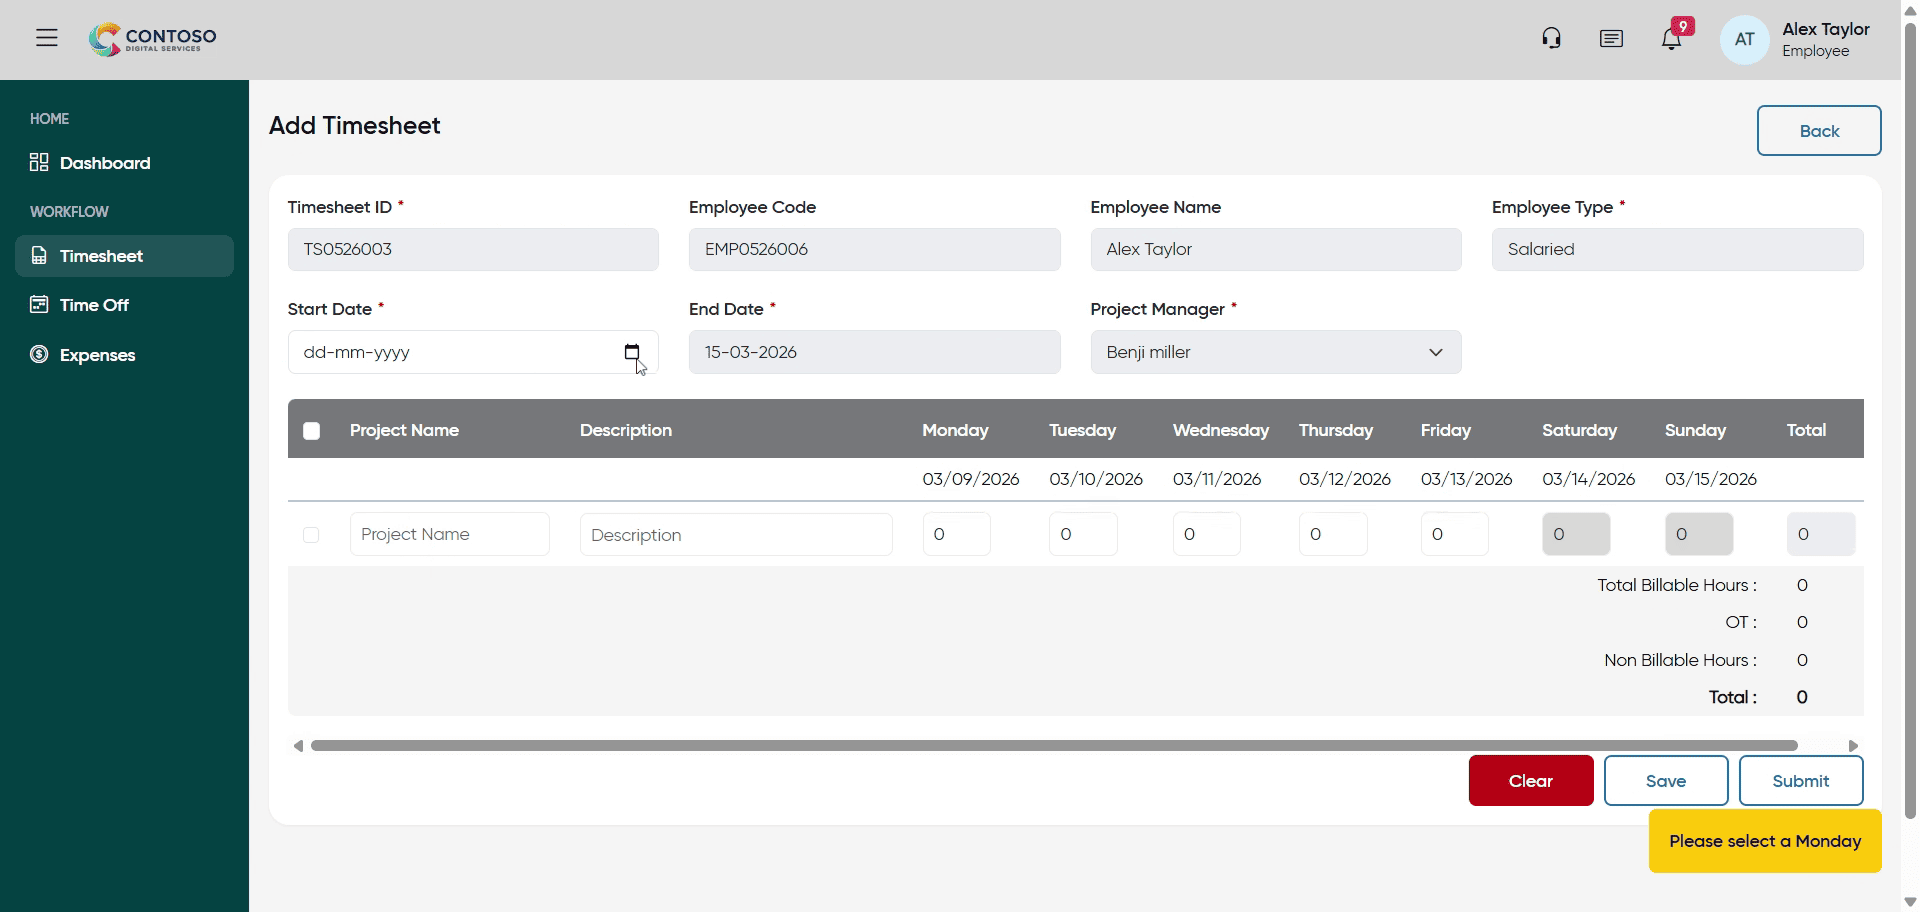
5. Enter Start Date
Enter the start date as 2026-03-09 for the timesheet entry.

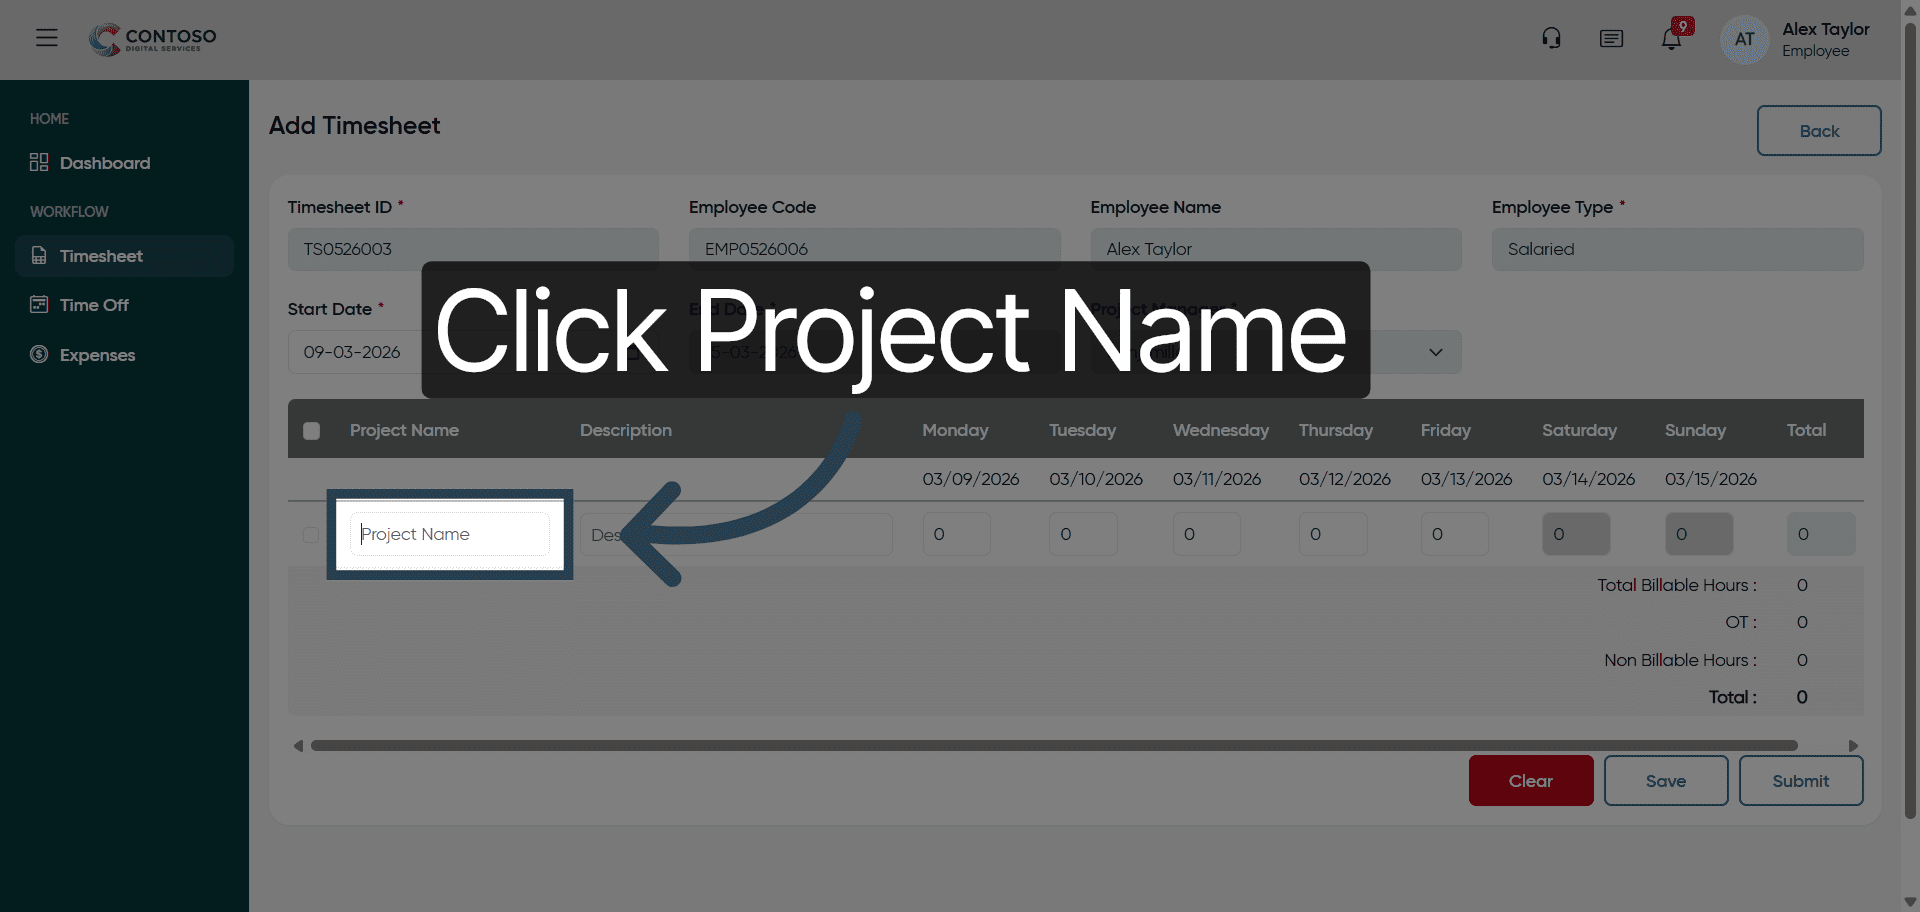
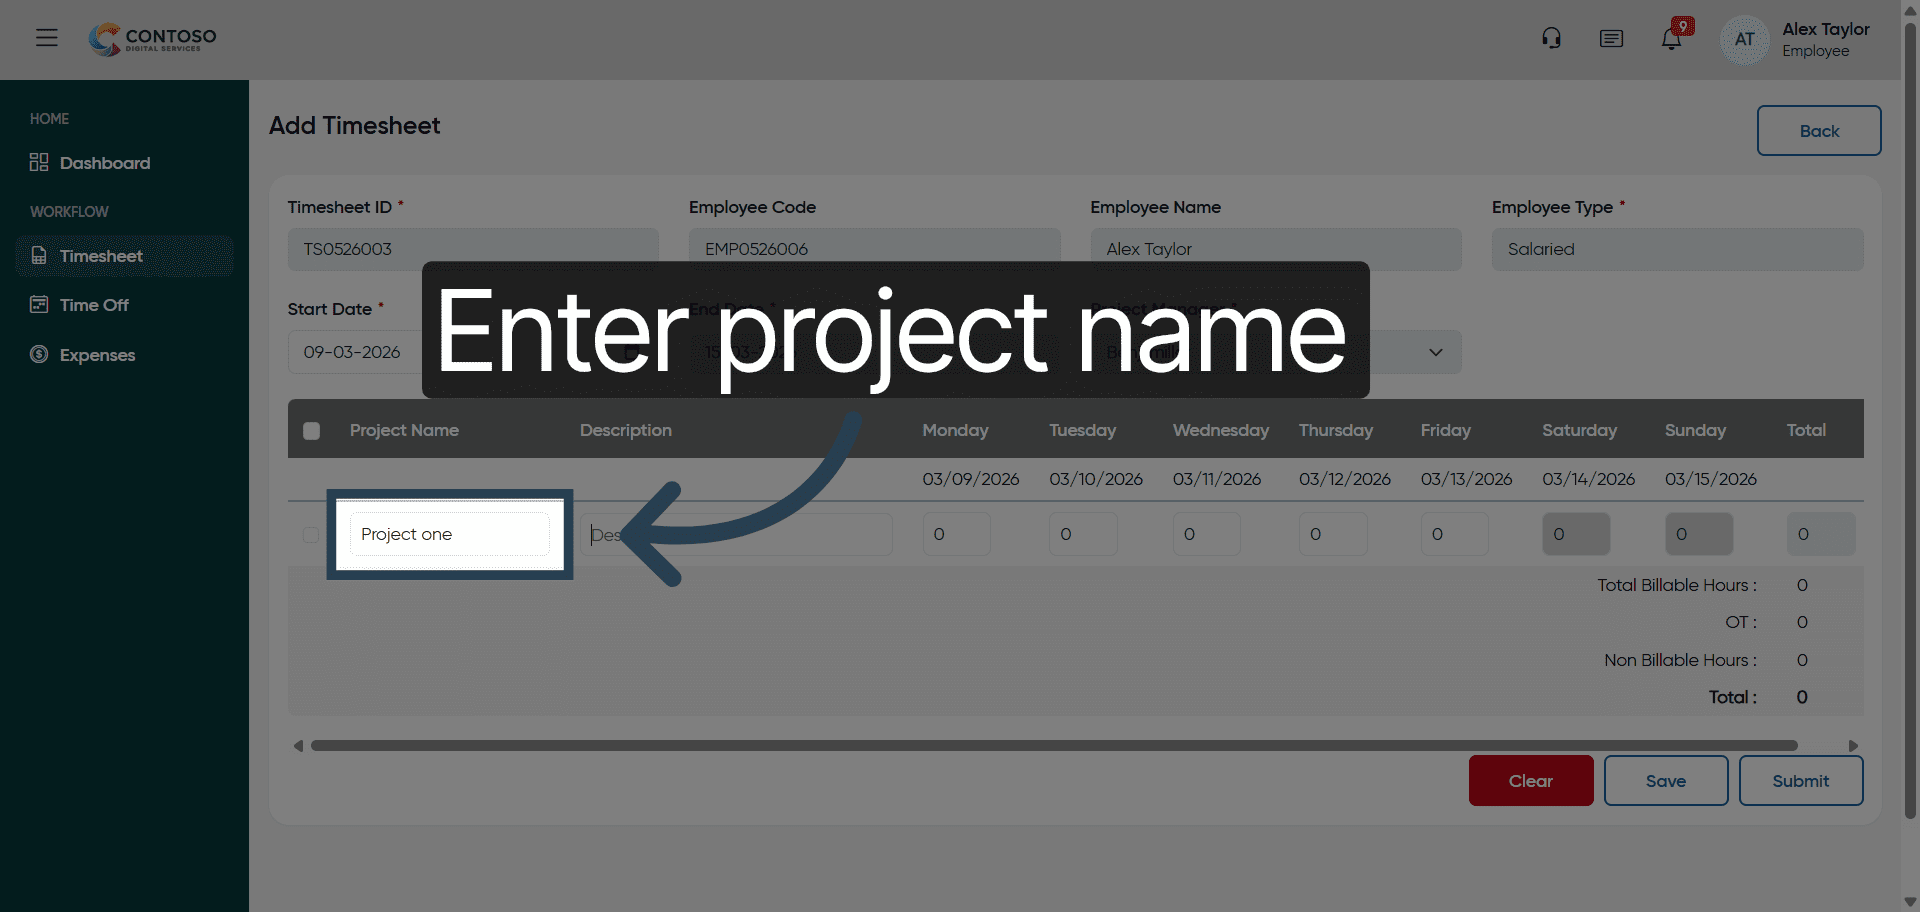
6. Select Project Name Field
Click the Project Name field to choose the project associated with your work.
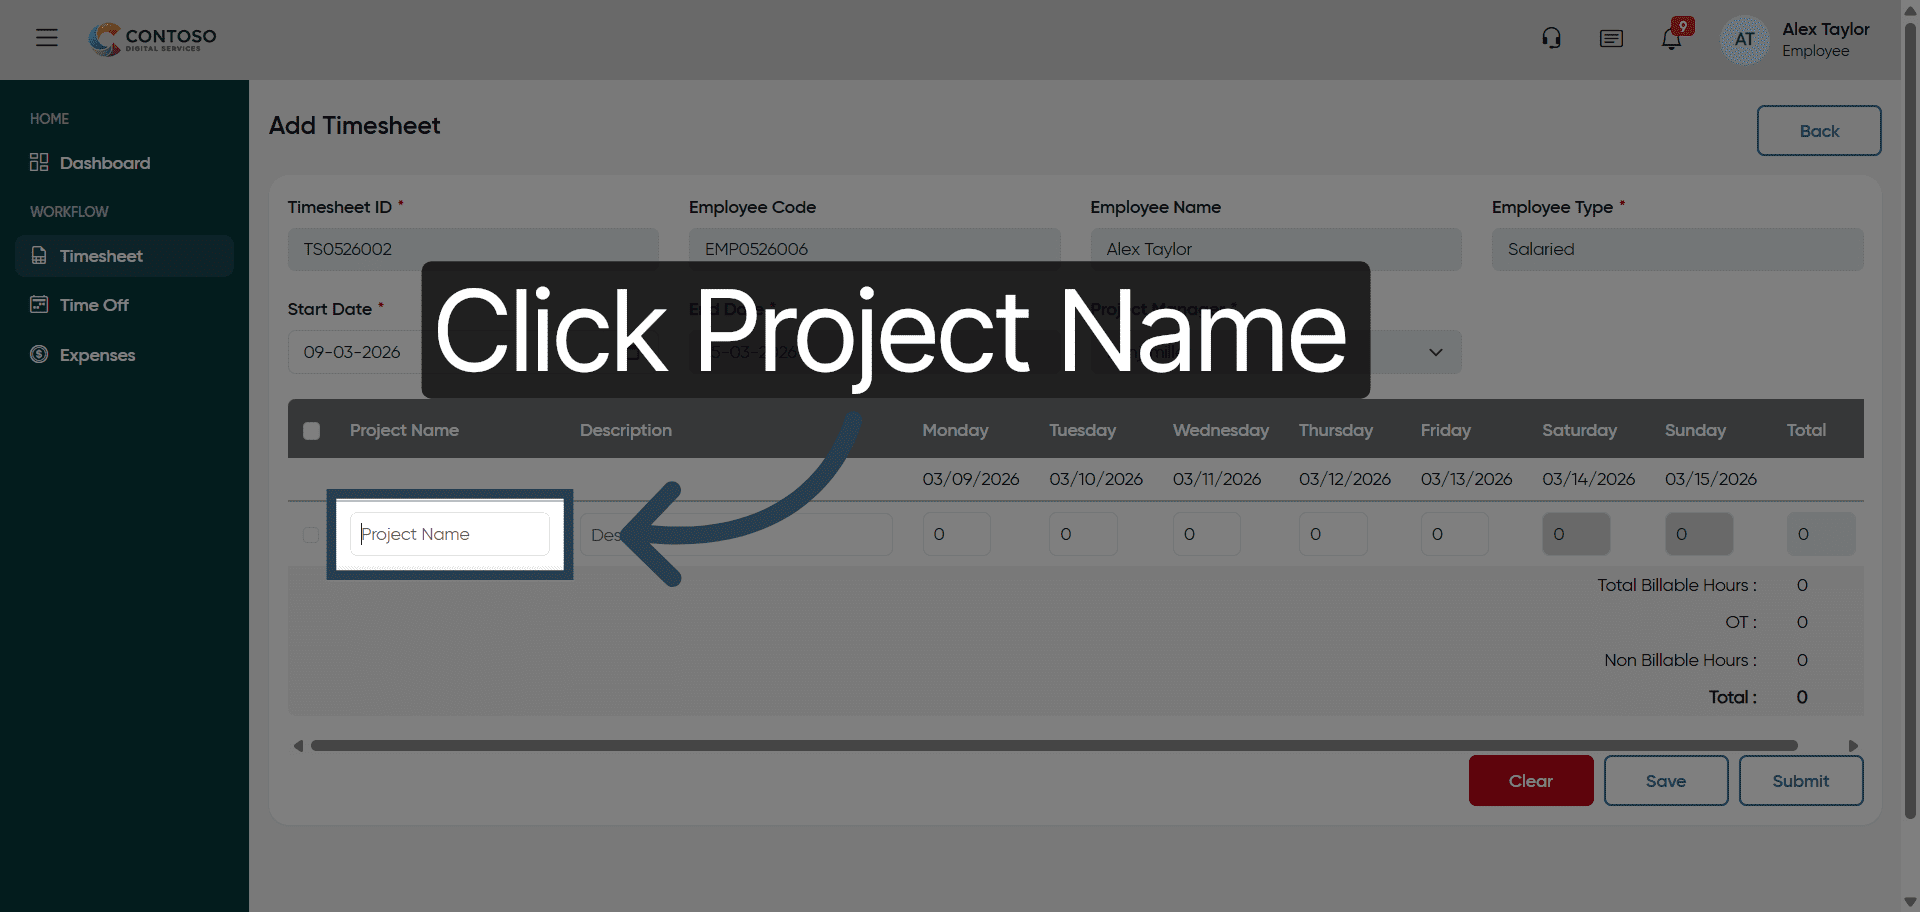
7. Enter Project Name
Enter Project one as the name of the project for this timesheet entry.

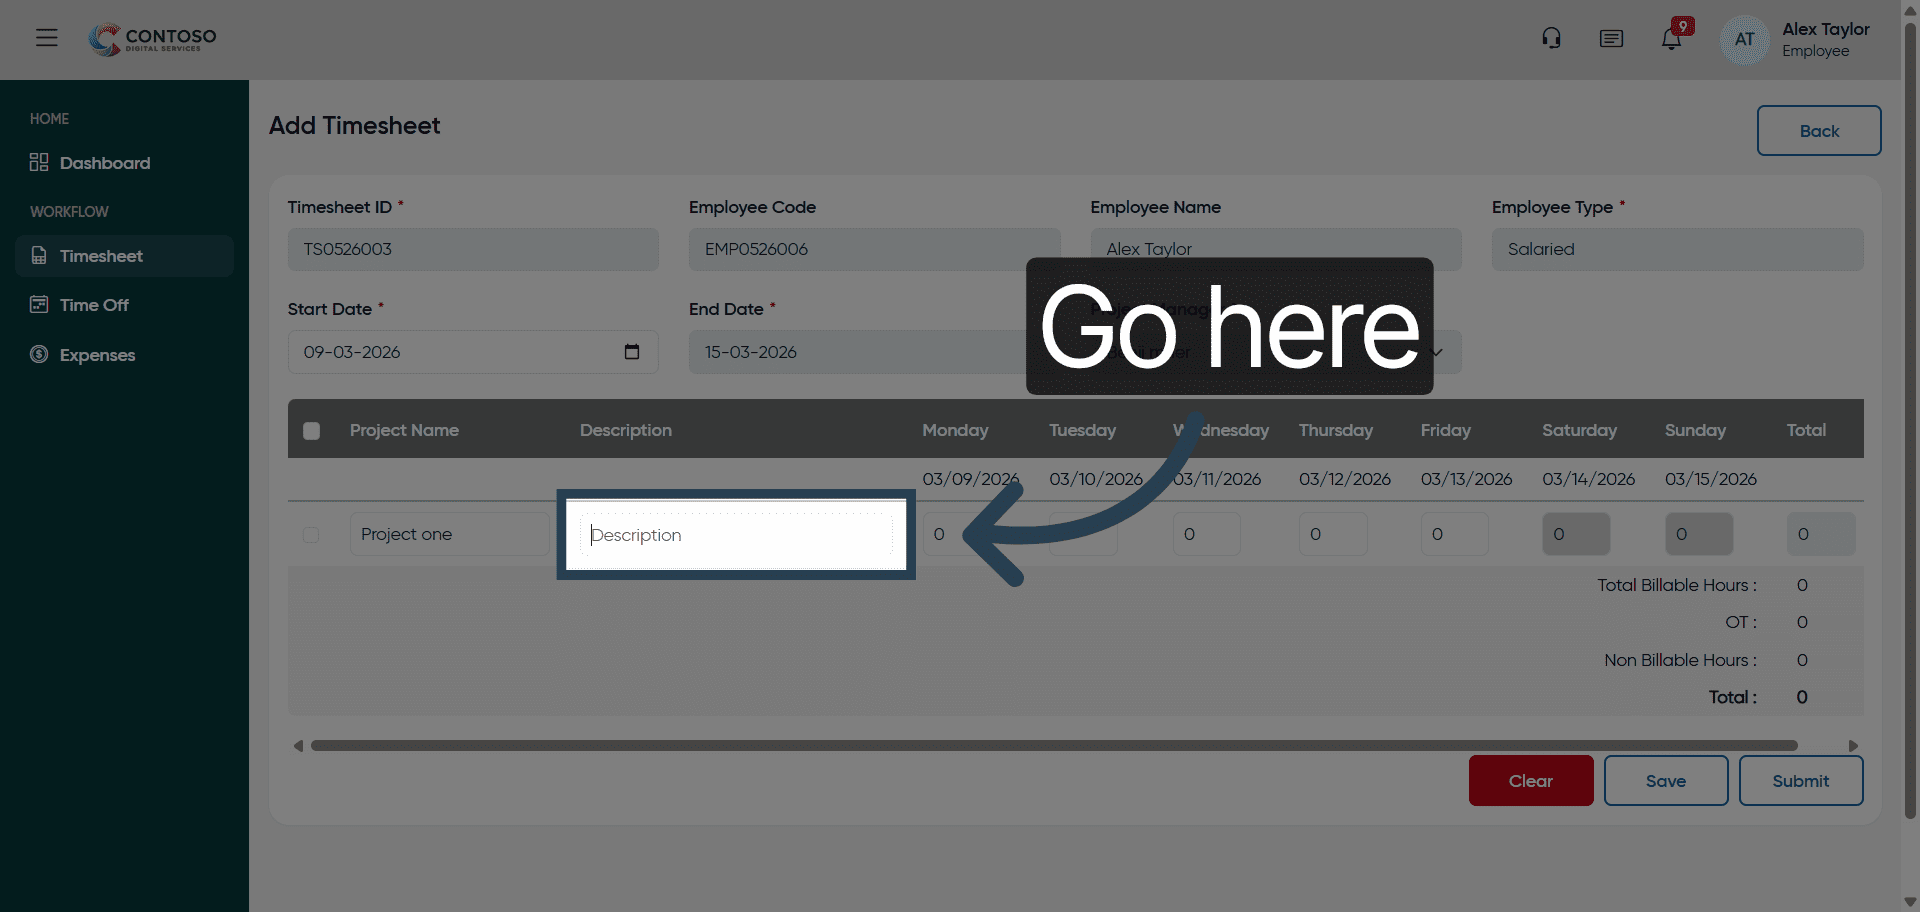
8. Navigate to Task Field
Navigate to the task field to specify the work performed during this period.
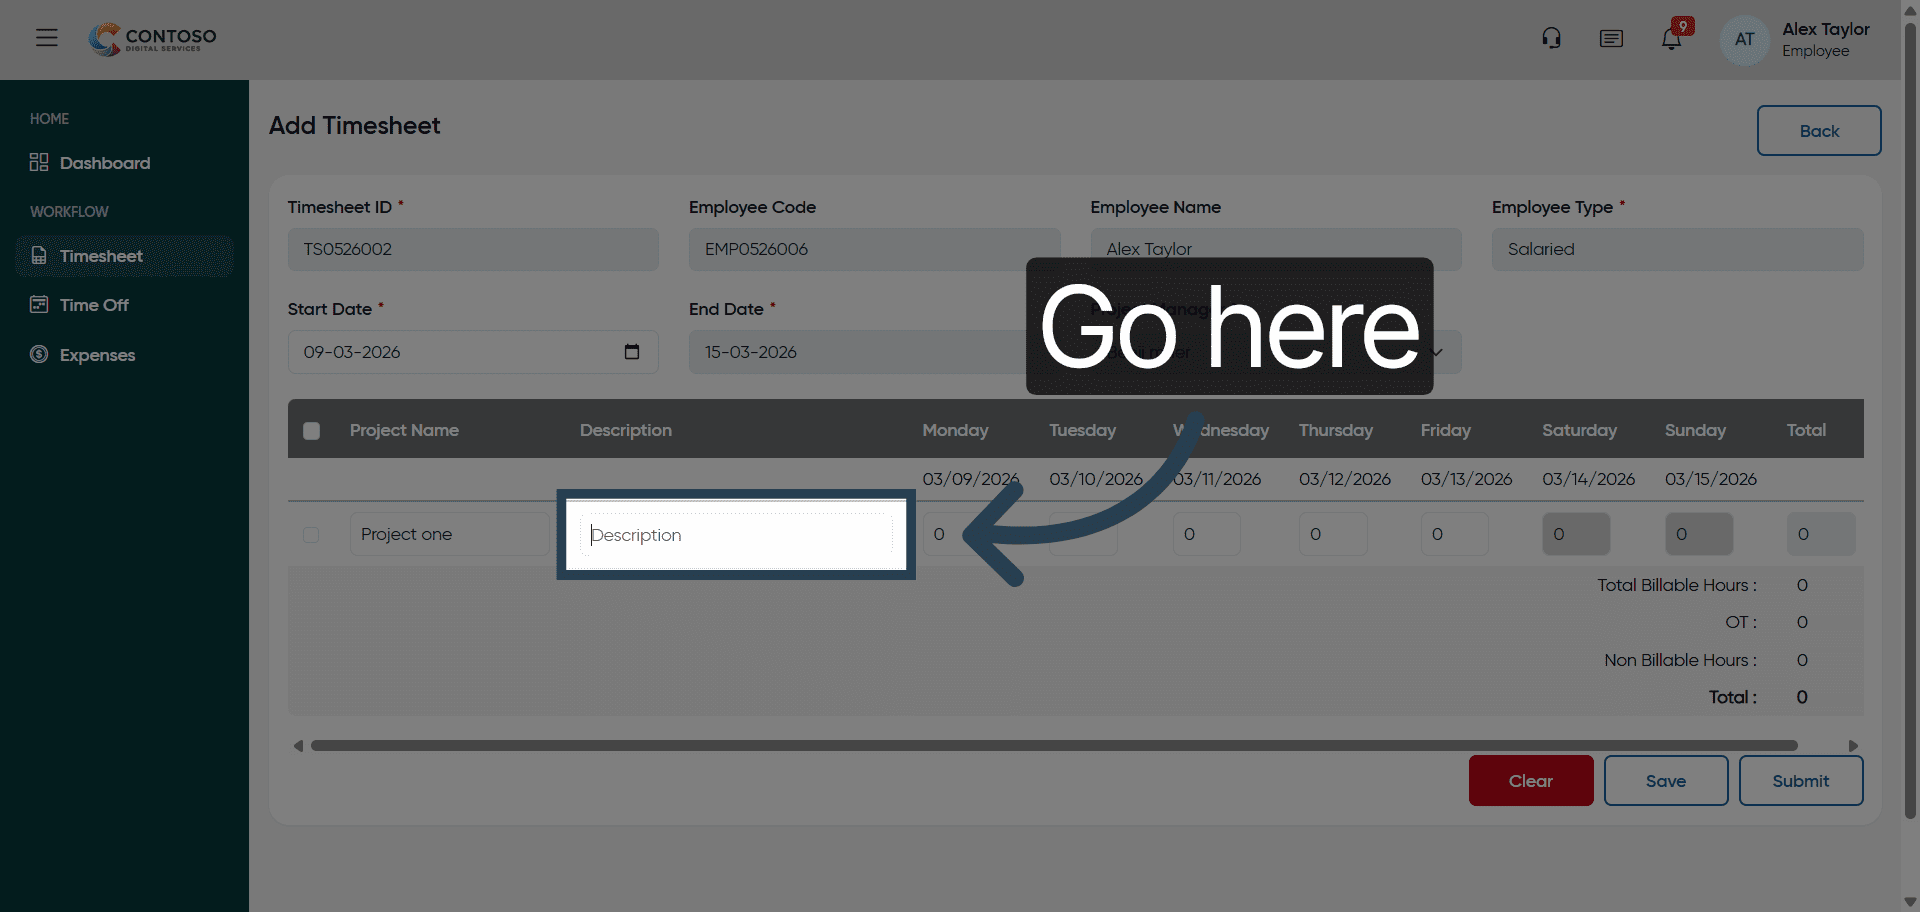
9. Enter Task Description
Enter Testing as the description of the task you worked on.
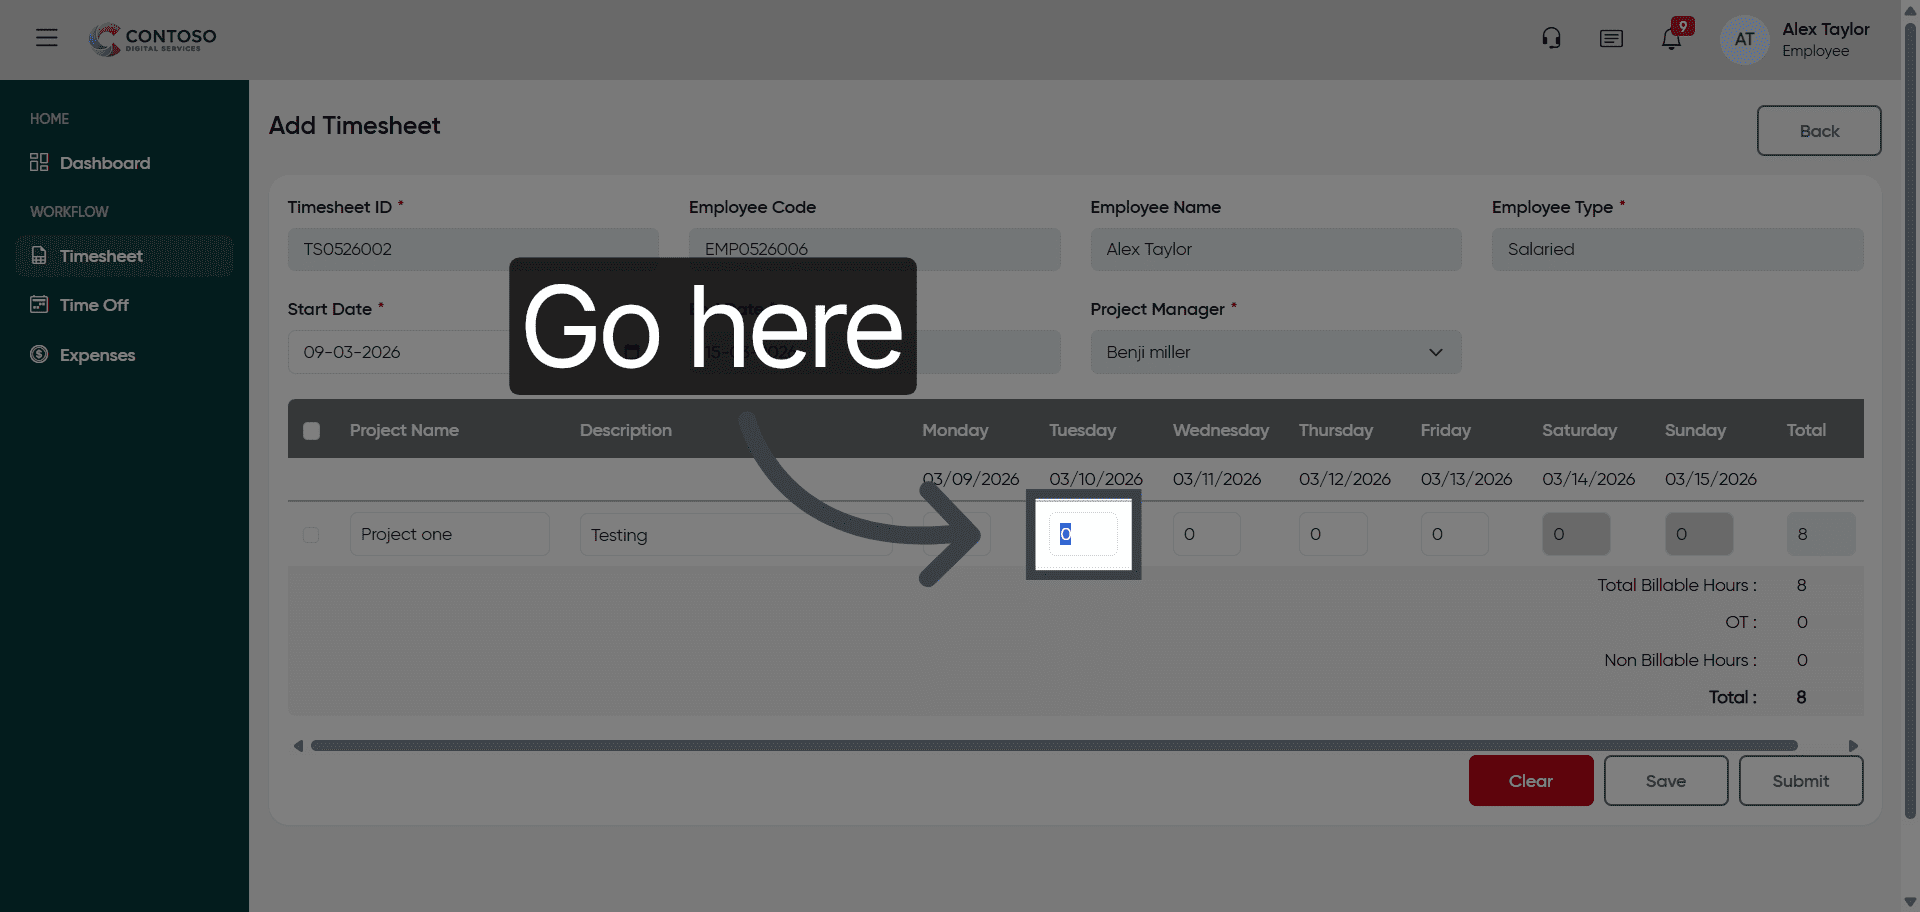
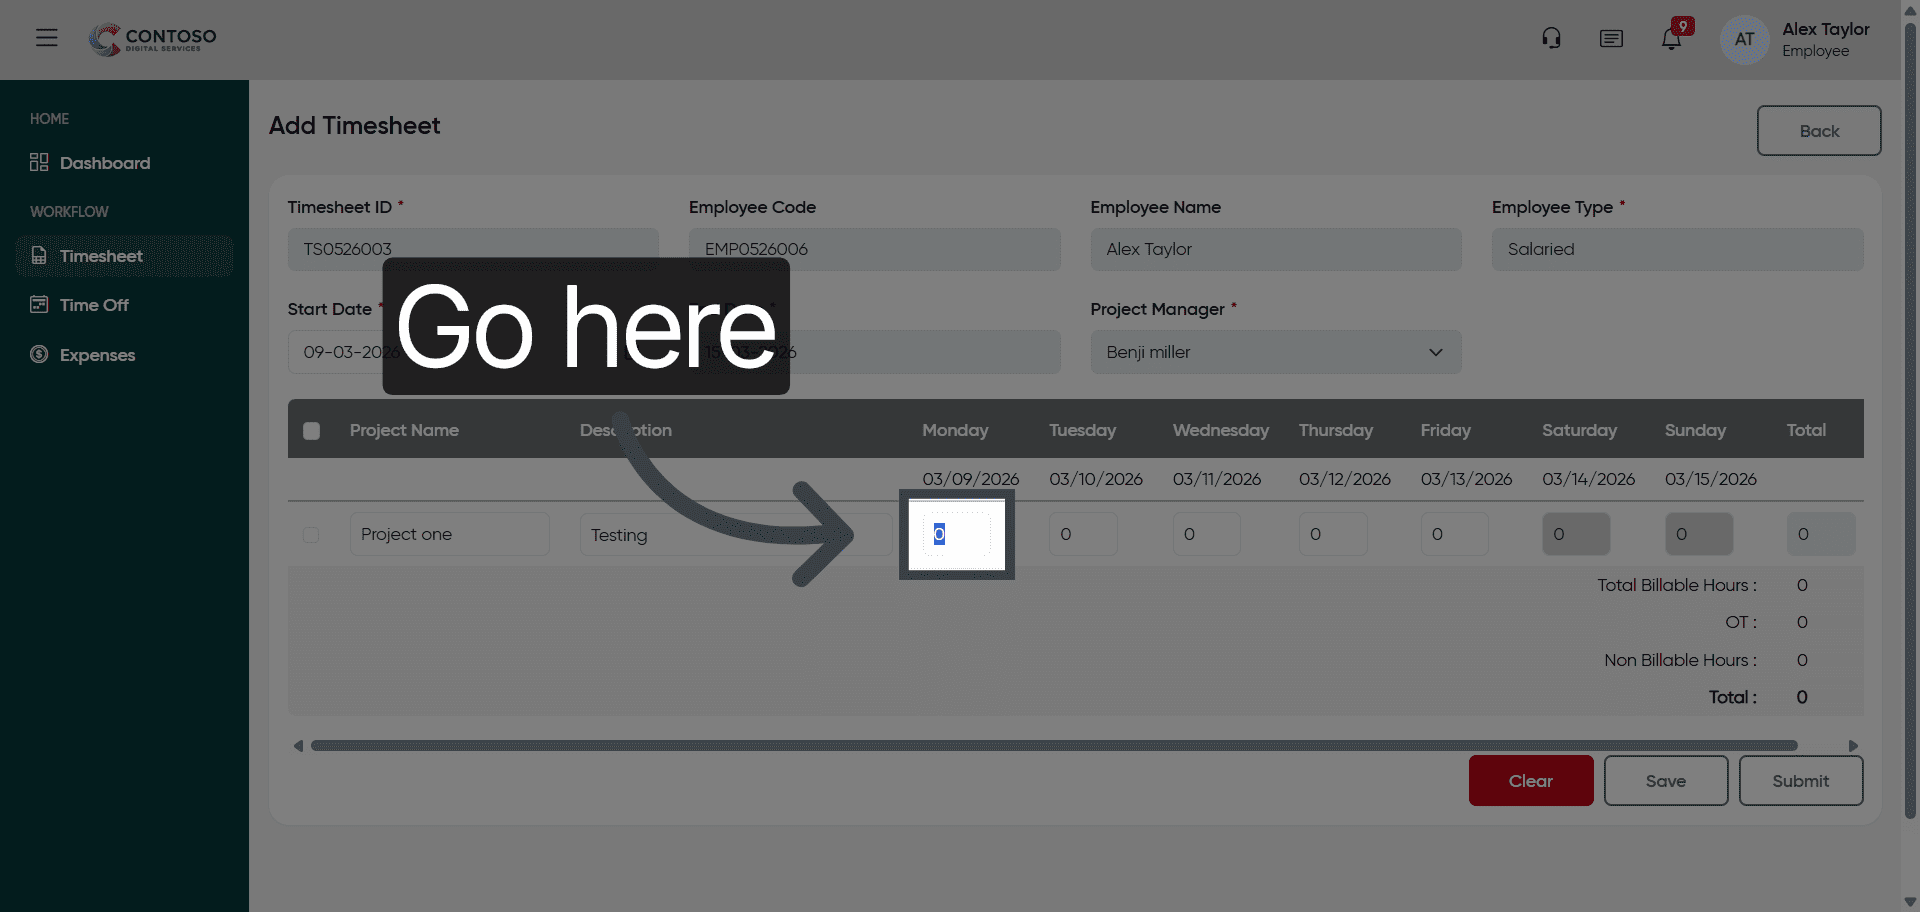
10. Select Hours Field
Click the hours field currently showing 0 to update your work hours.
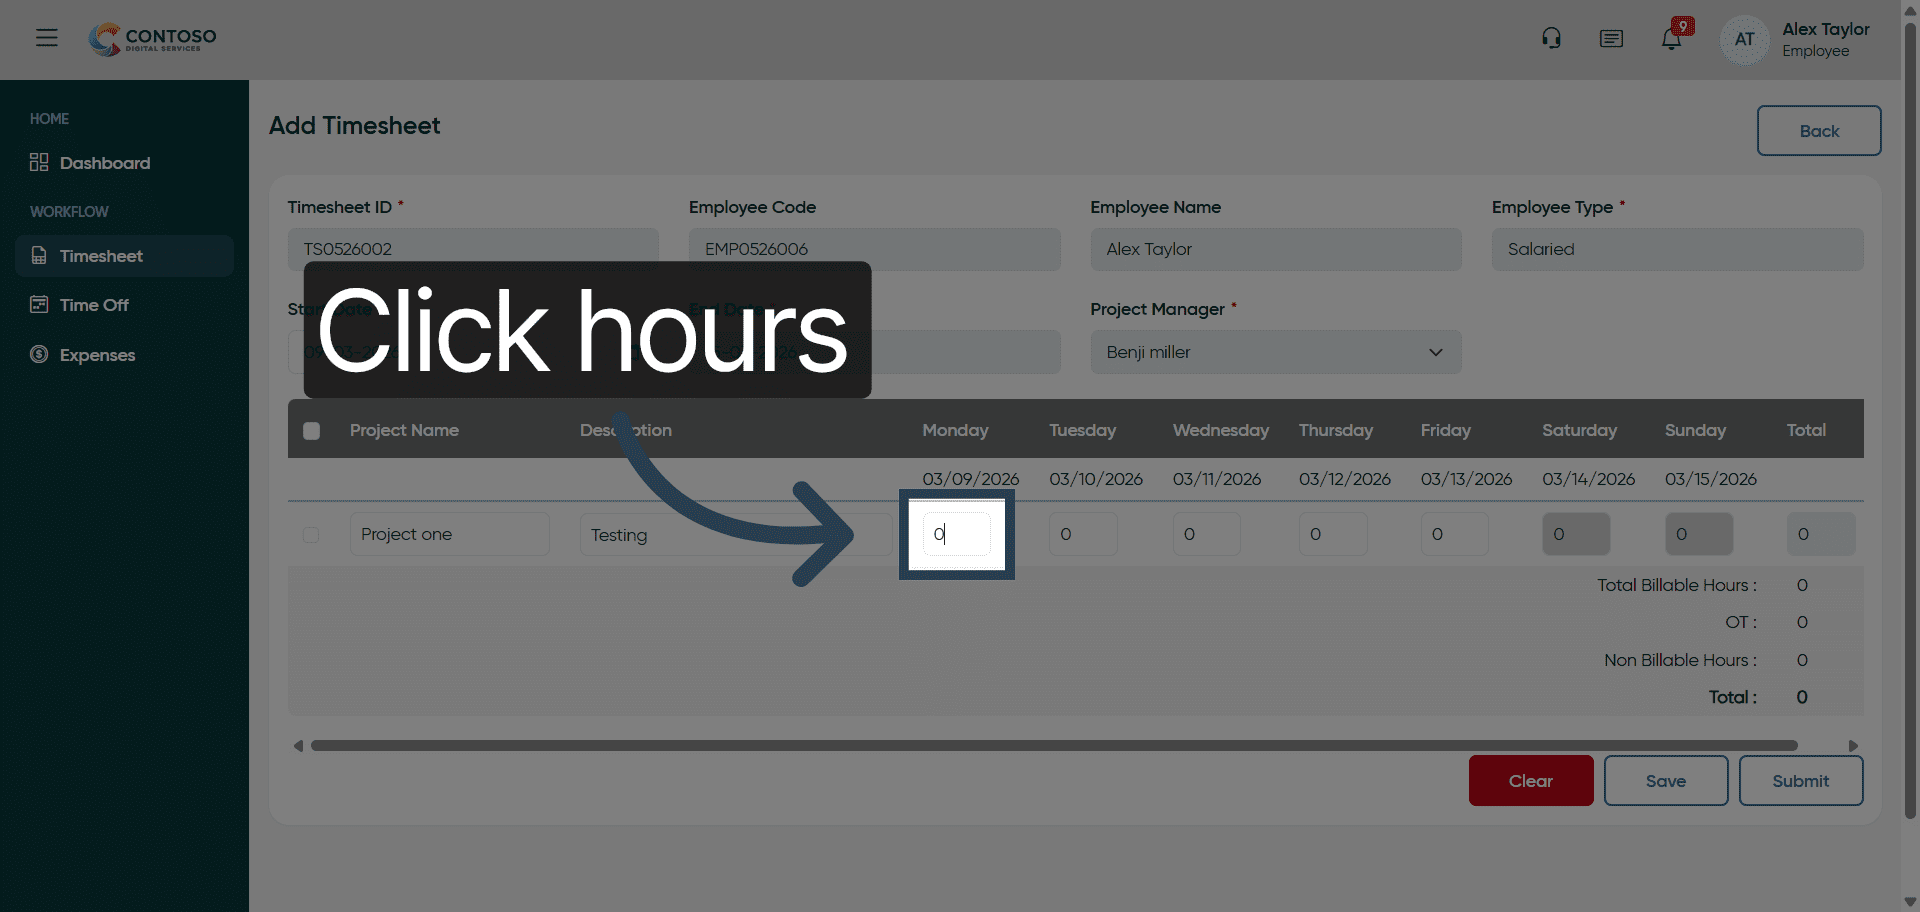
11. Enter Hours Worked
Enter 8 as the number of hours worked for this task.
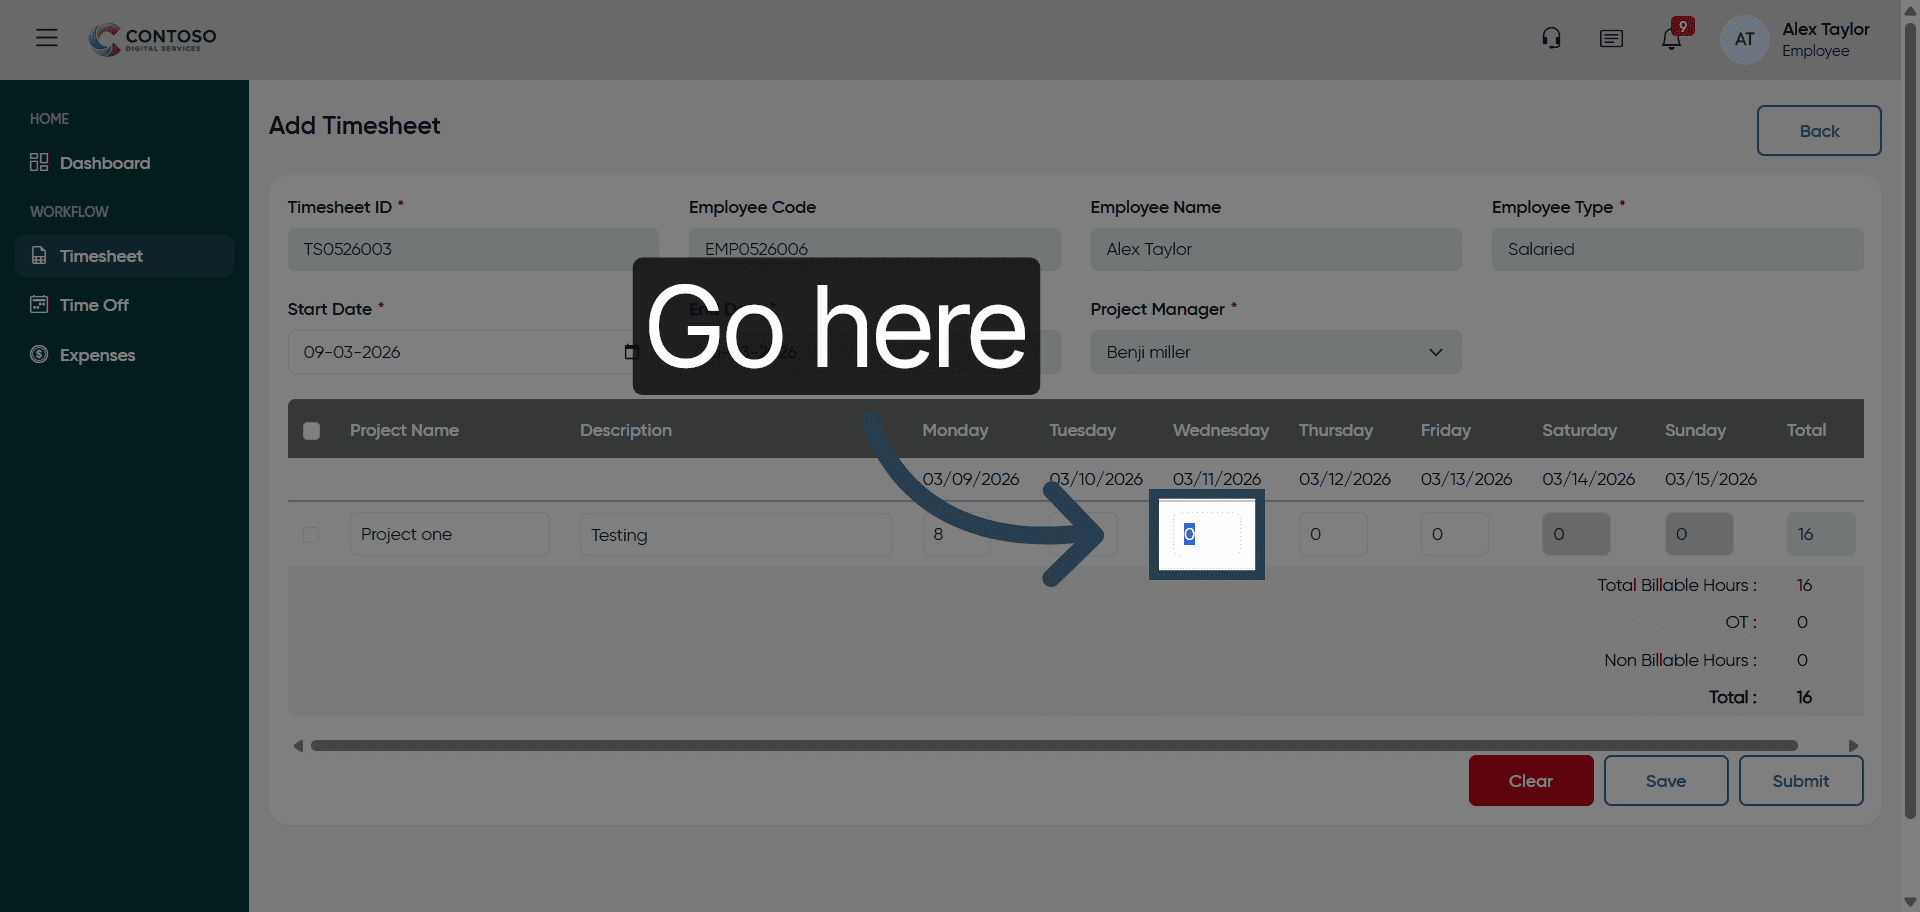
12. Navigate to Additional Hours Field
Navigate to the additional hours field to input any extra time worked.
13. Enter Additional Hours
Enter 8 as the additional hours worked for this timesheet entry.

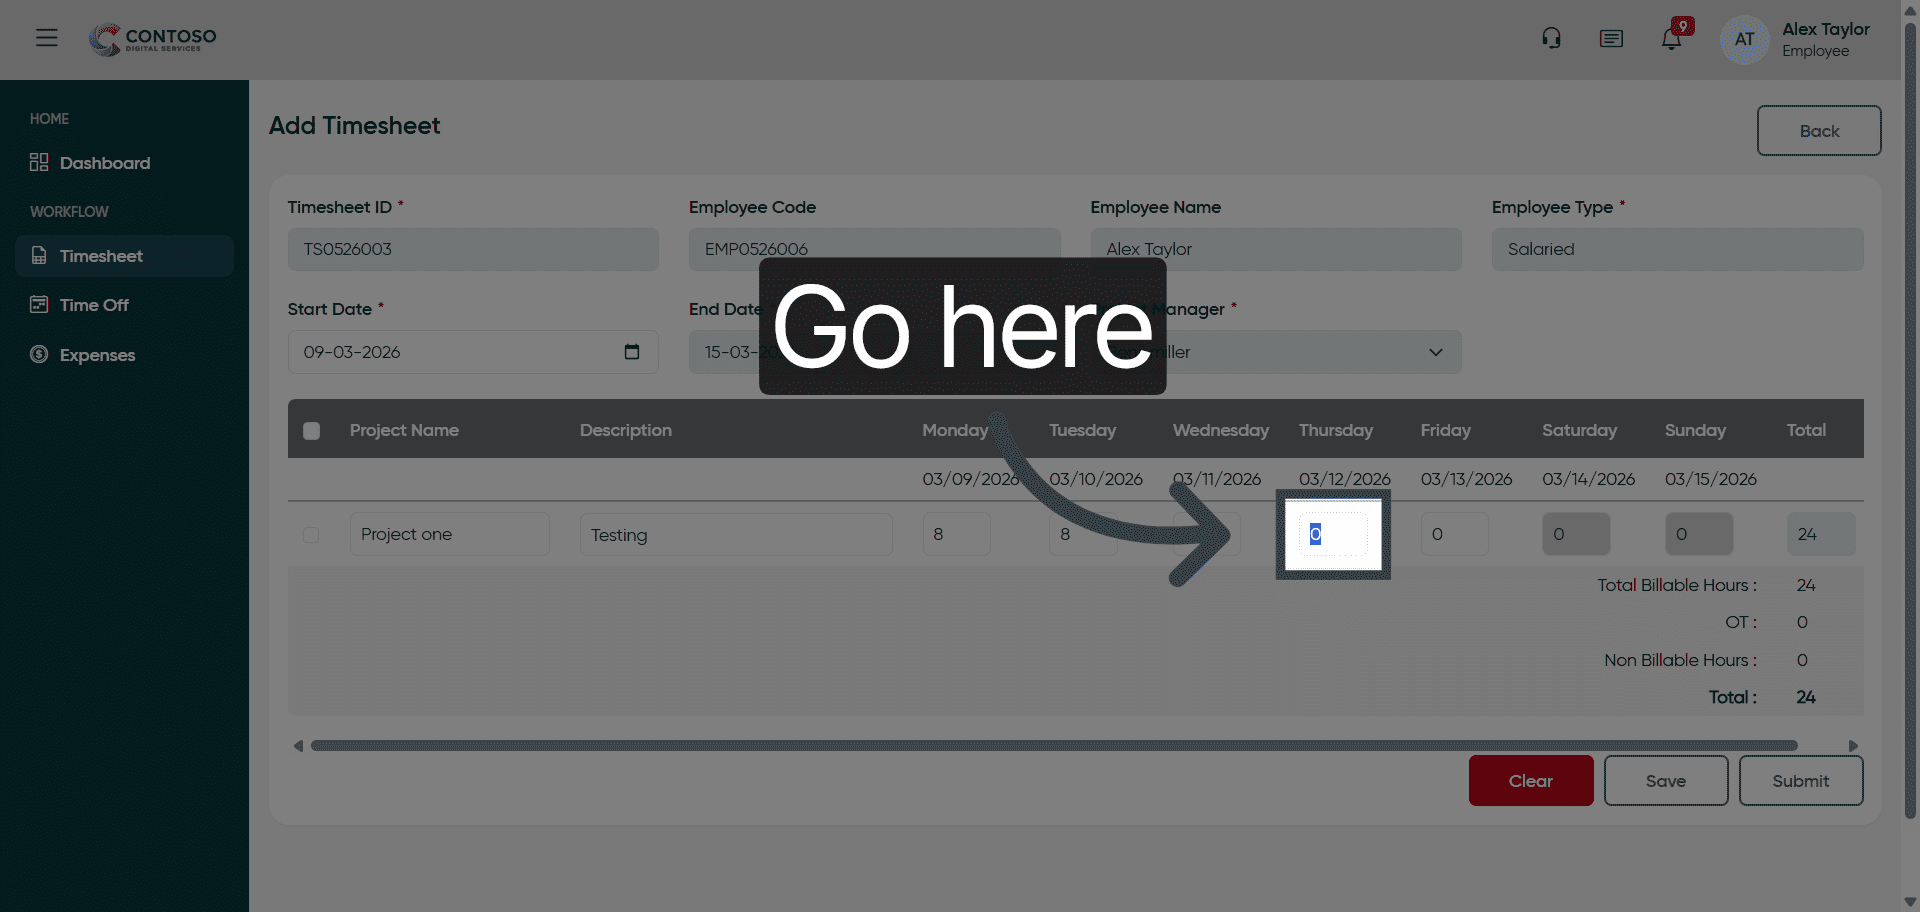
14. Navigate to Overtime Hours Field
Navigate to the overtime hours field to record any overtime worked.
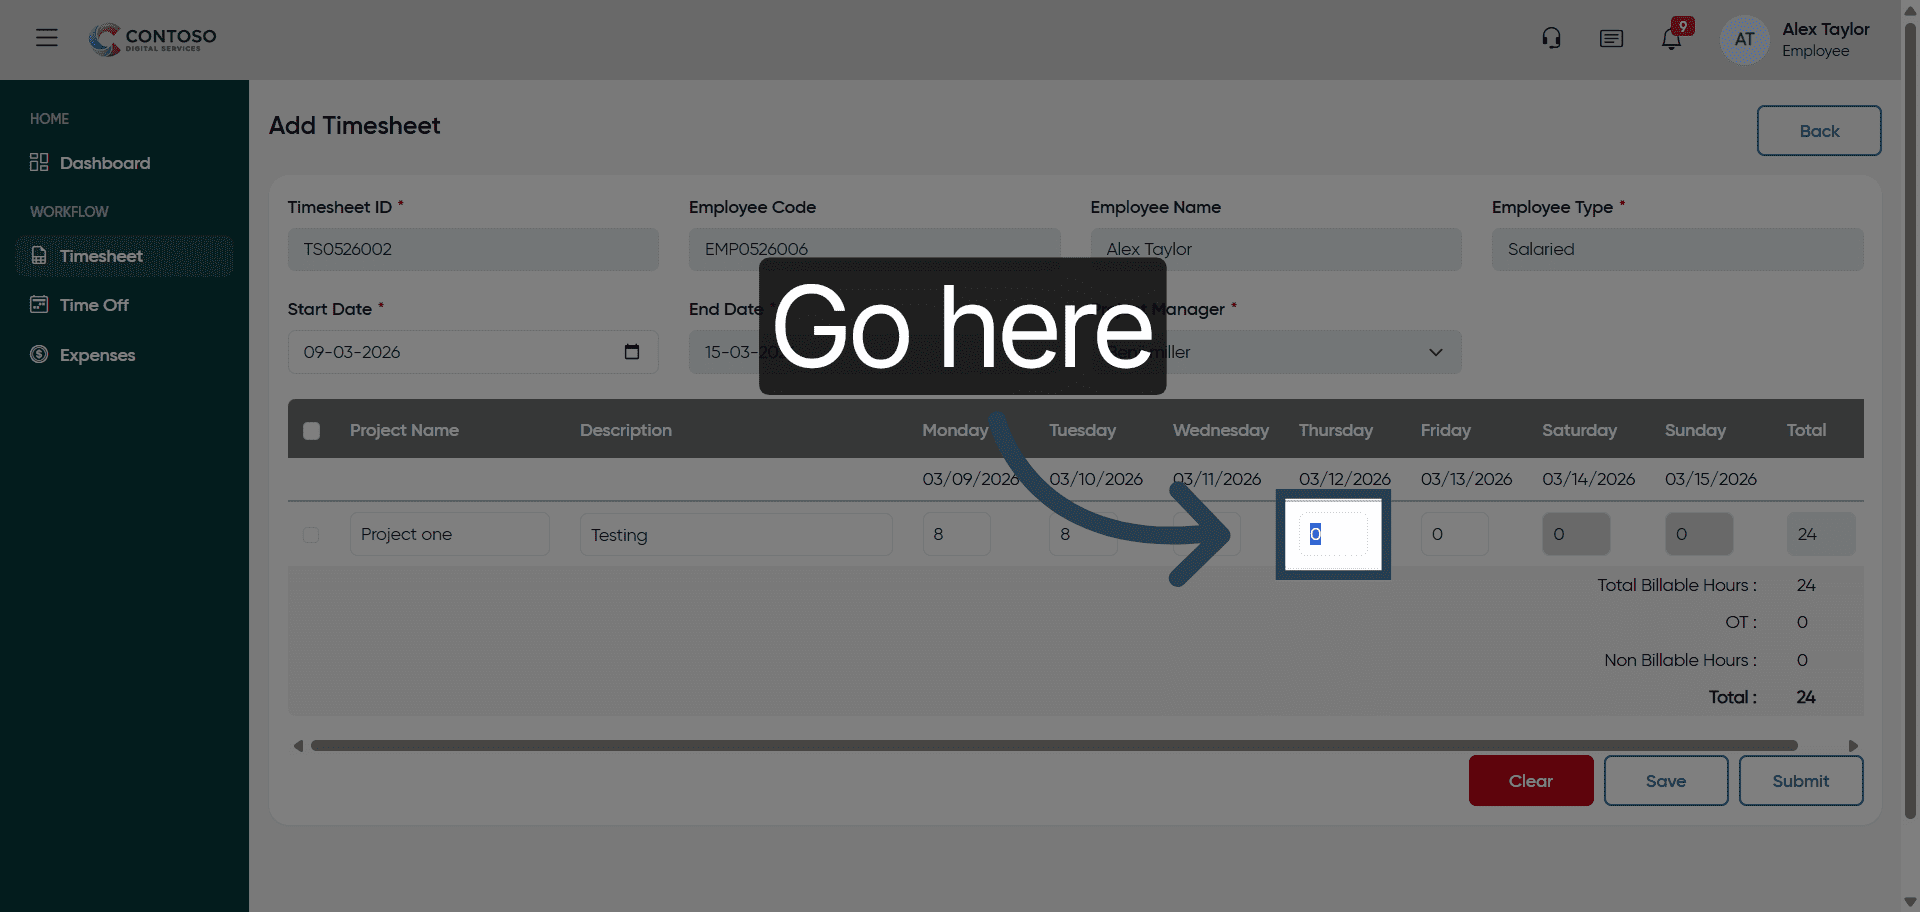
15. Enter Overtime Hours
Enter 8 as the number of overtime hours worked.

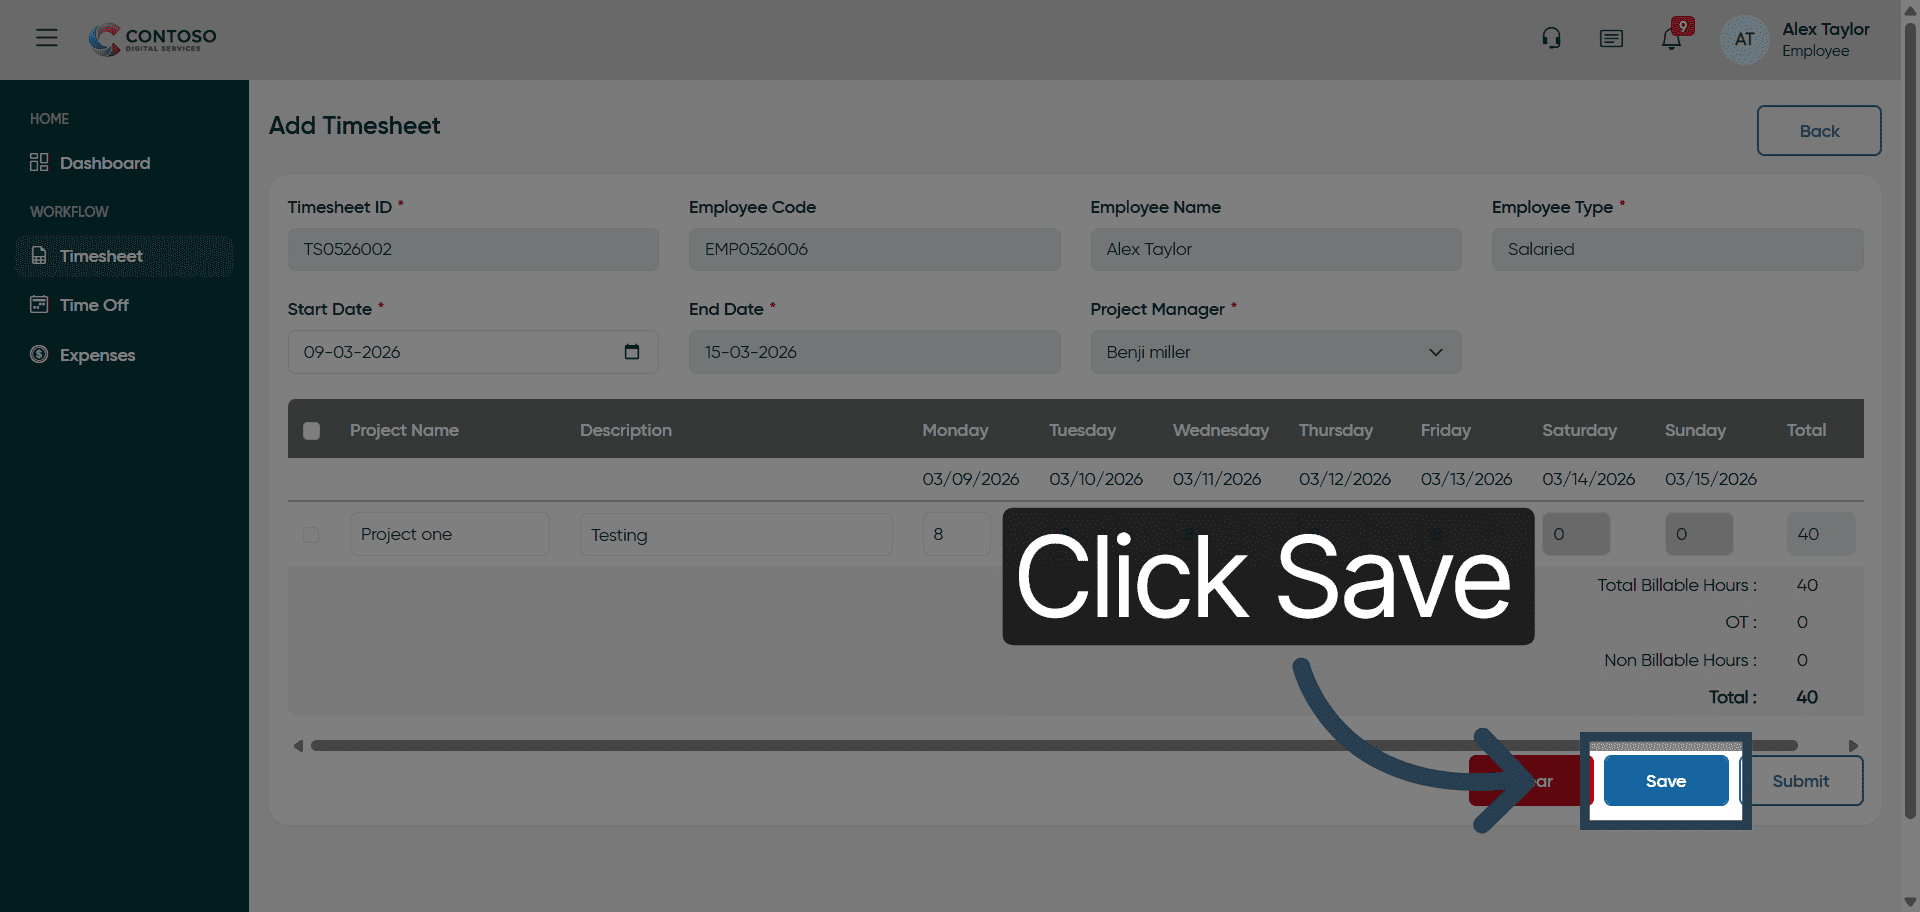
16. Save Timesheet Entry
Click Save to store the timesheet entry you have just completed.
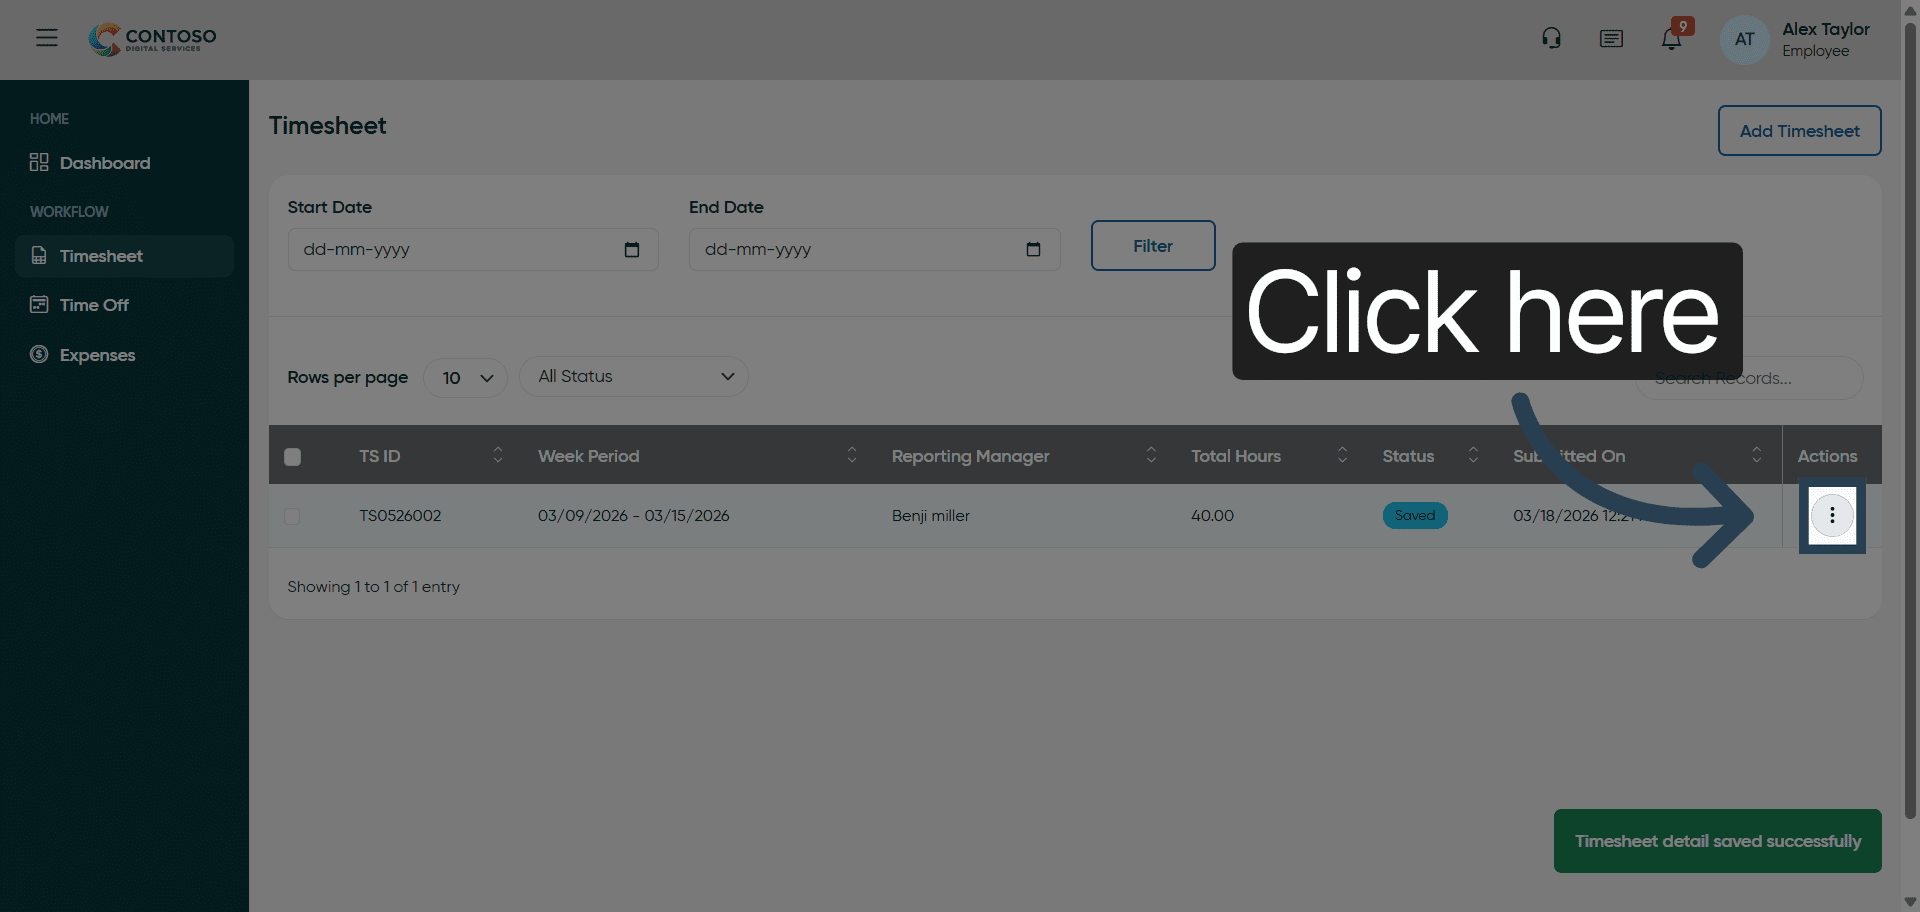
17. Access Timesheet Options
Click here to access options for managing your existing timesheet entries.
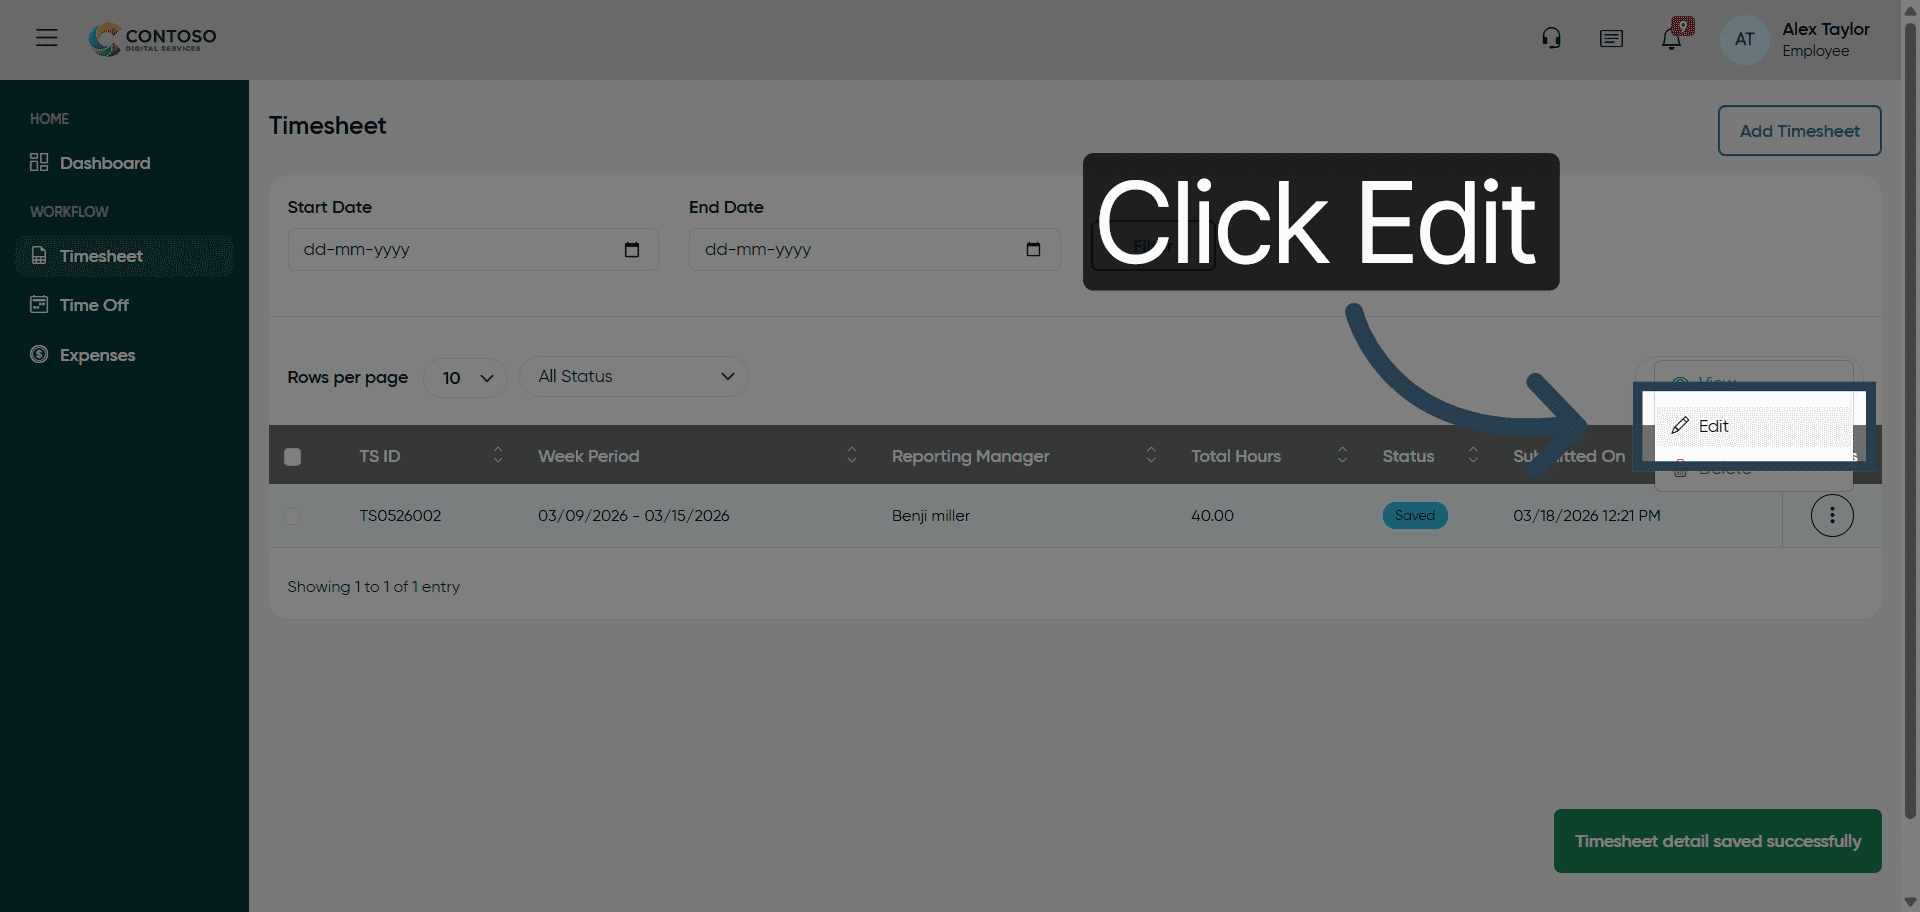
18. Open Edit Mode
Click Edit to modify the selected timesheet entry.
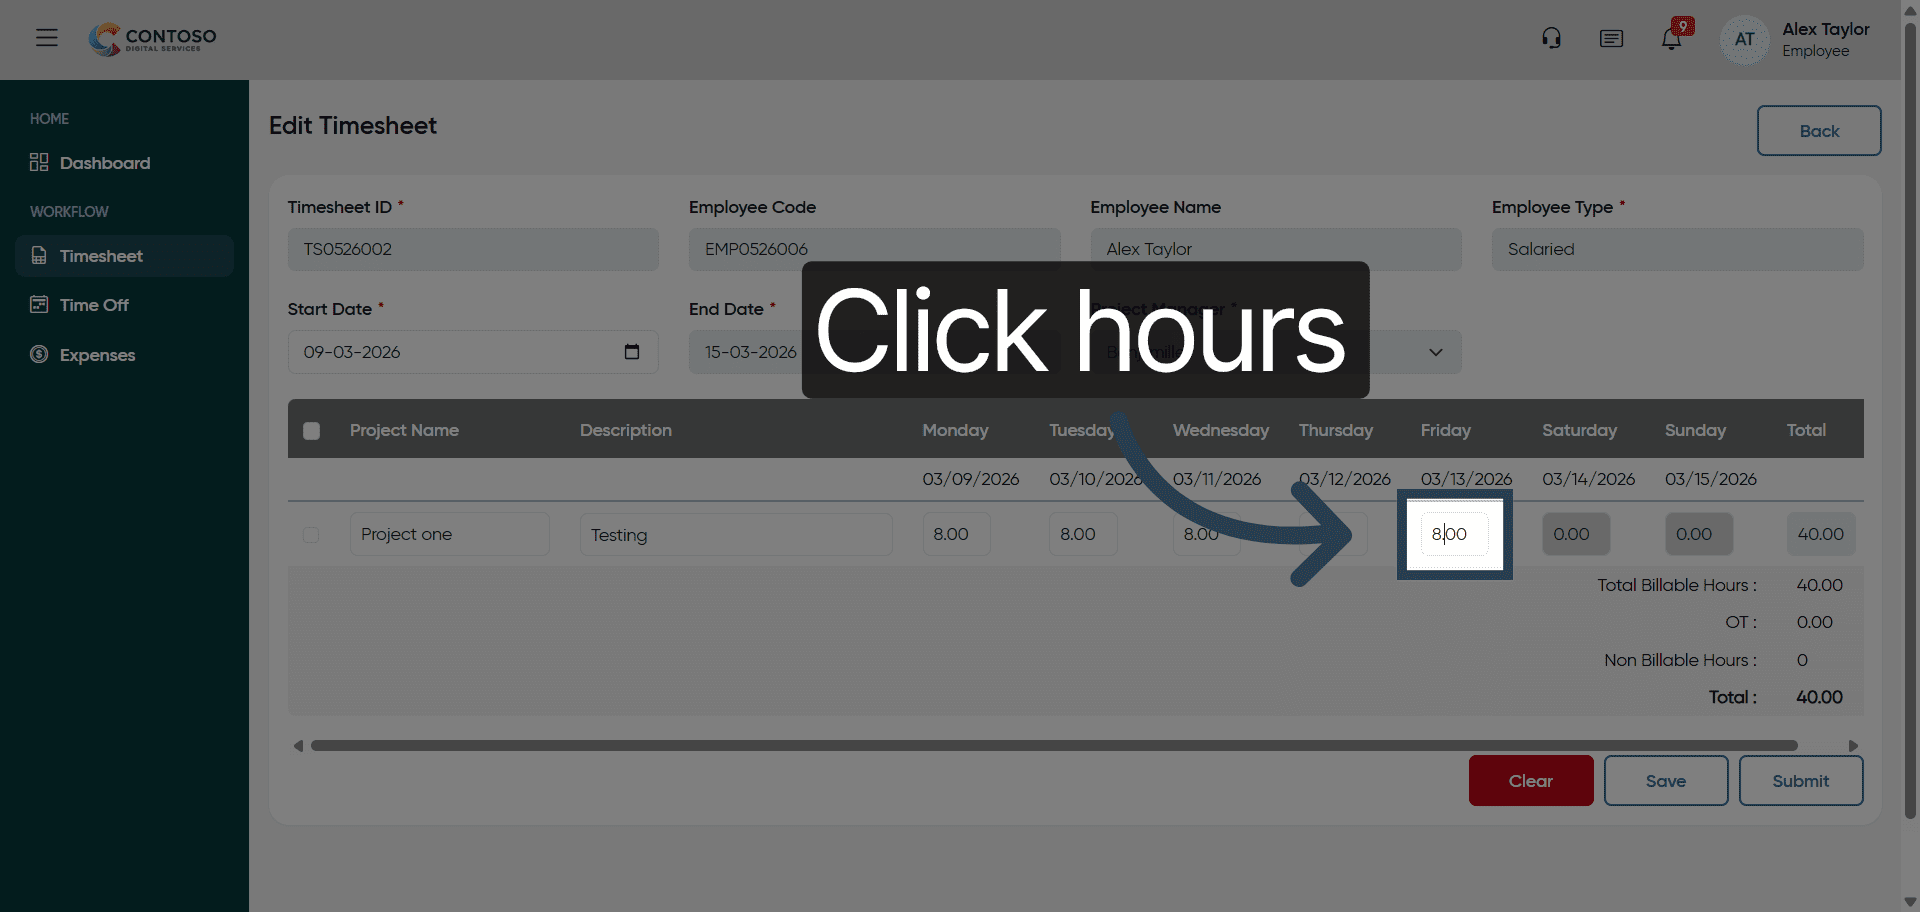
19. Select Hours To Edit
Click the hours field showing 8.00 to change the recorded hours.
20. Update Hours Worked
Enter 4 to update the hours worked for this entry.

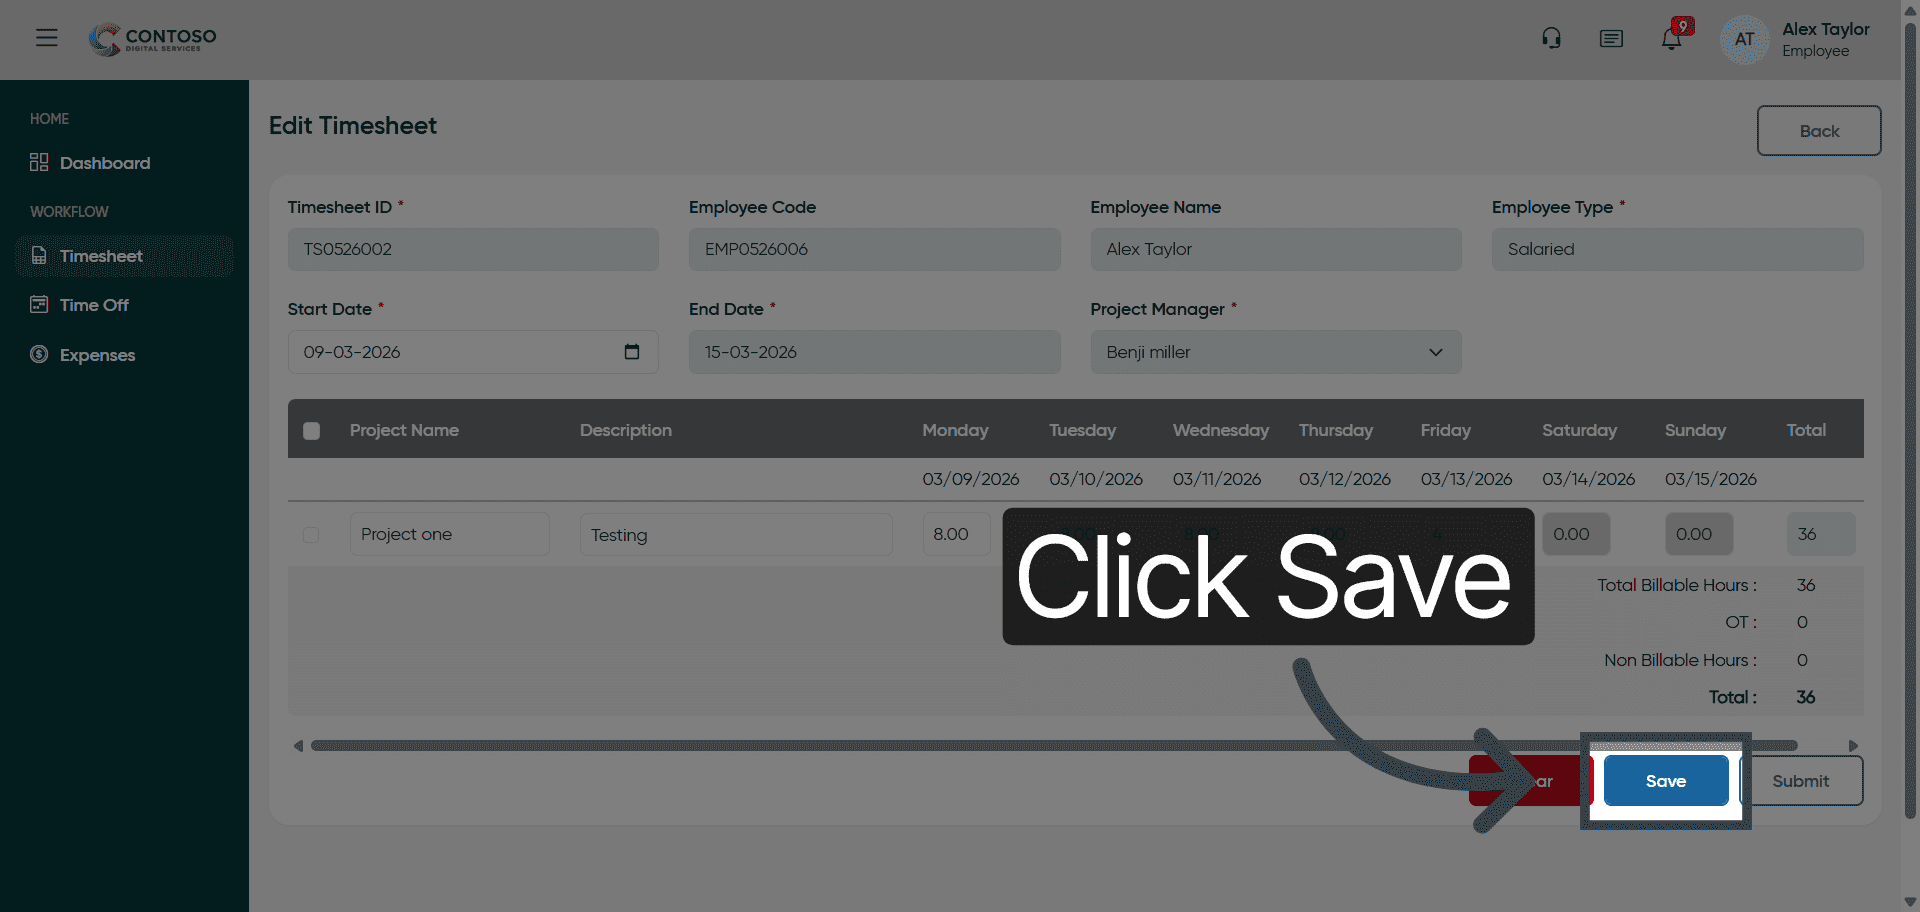
21. Save Edited Entry
Click Save to apply the changes made to the timesheet entry.
22. Access Entry Options
Click here to open options for the selected timesheet entry.

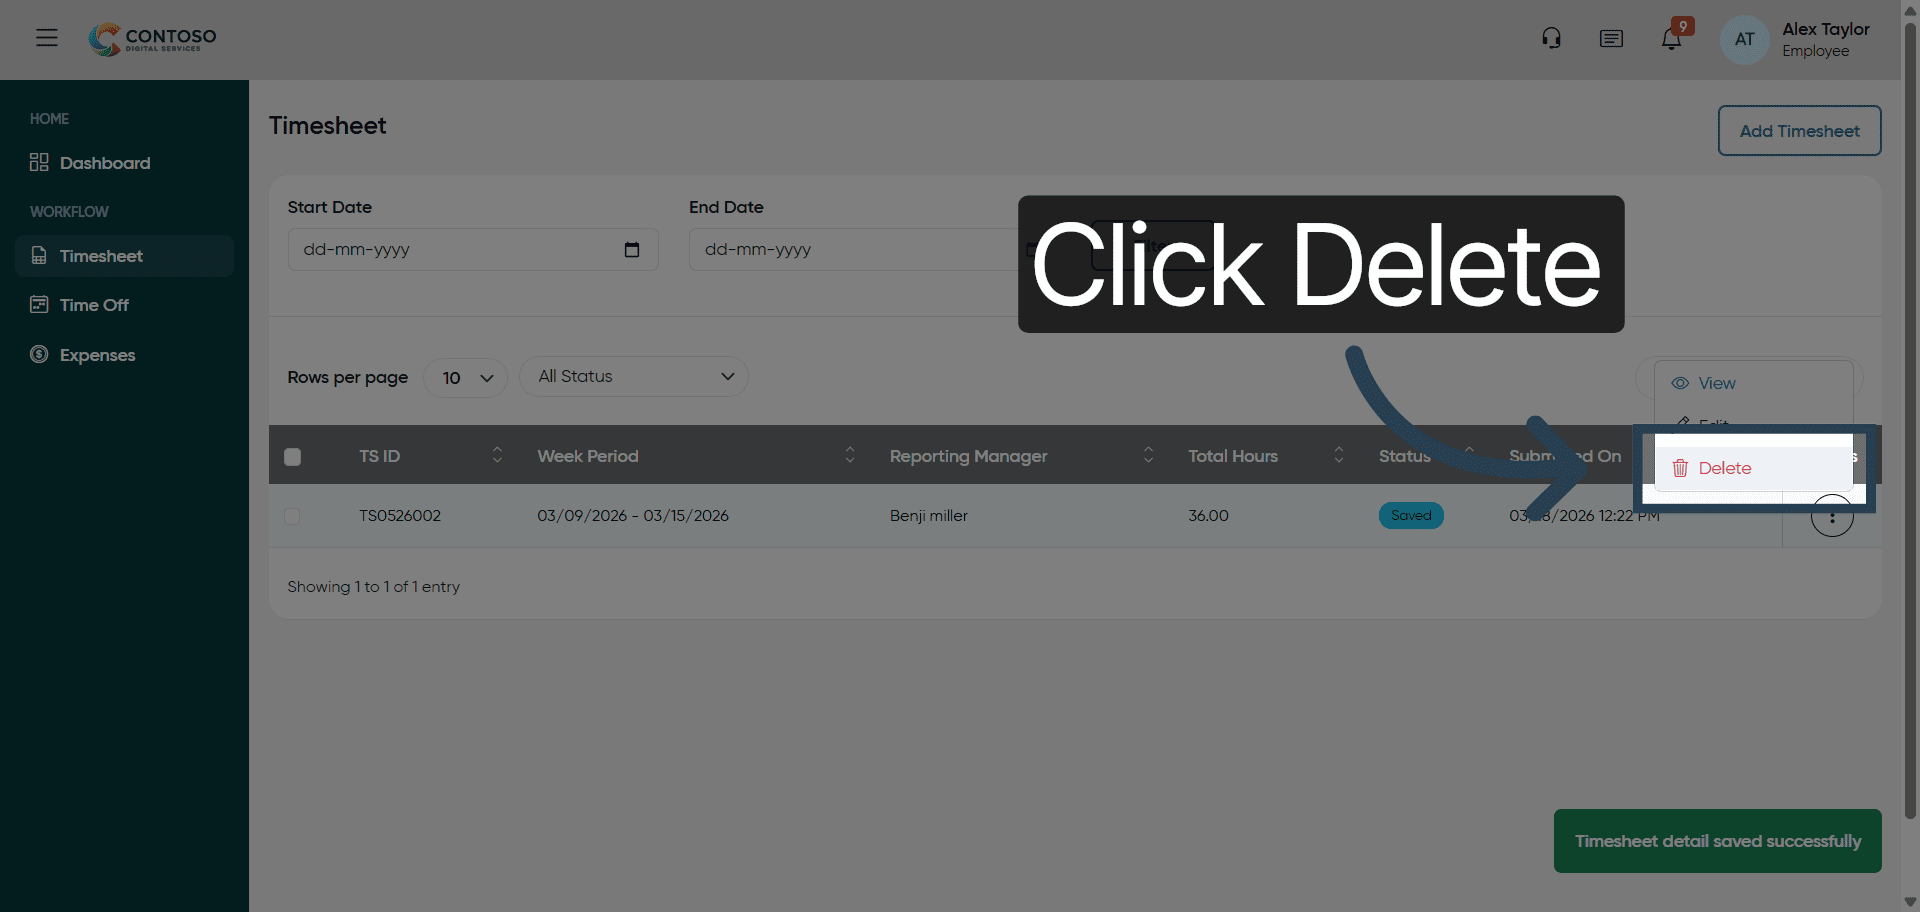
23. Delete Timesheet Entry
Click Delete to remove the selected timesheet entry from your records.
24. Confirm Deletion
Click Yes to confirm and permanently delete the timesheet entry.

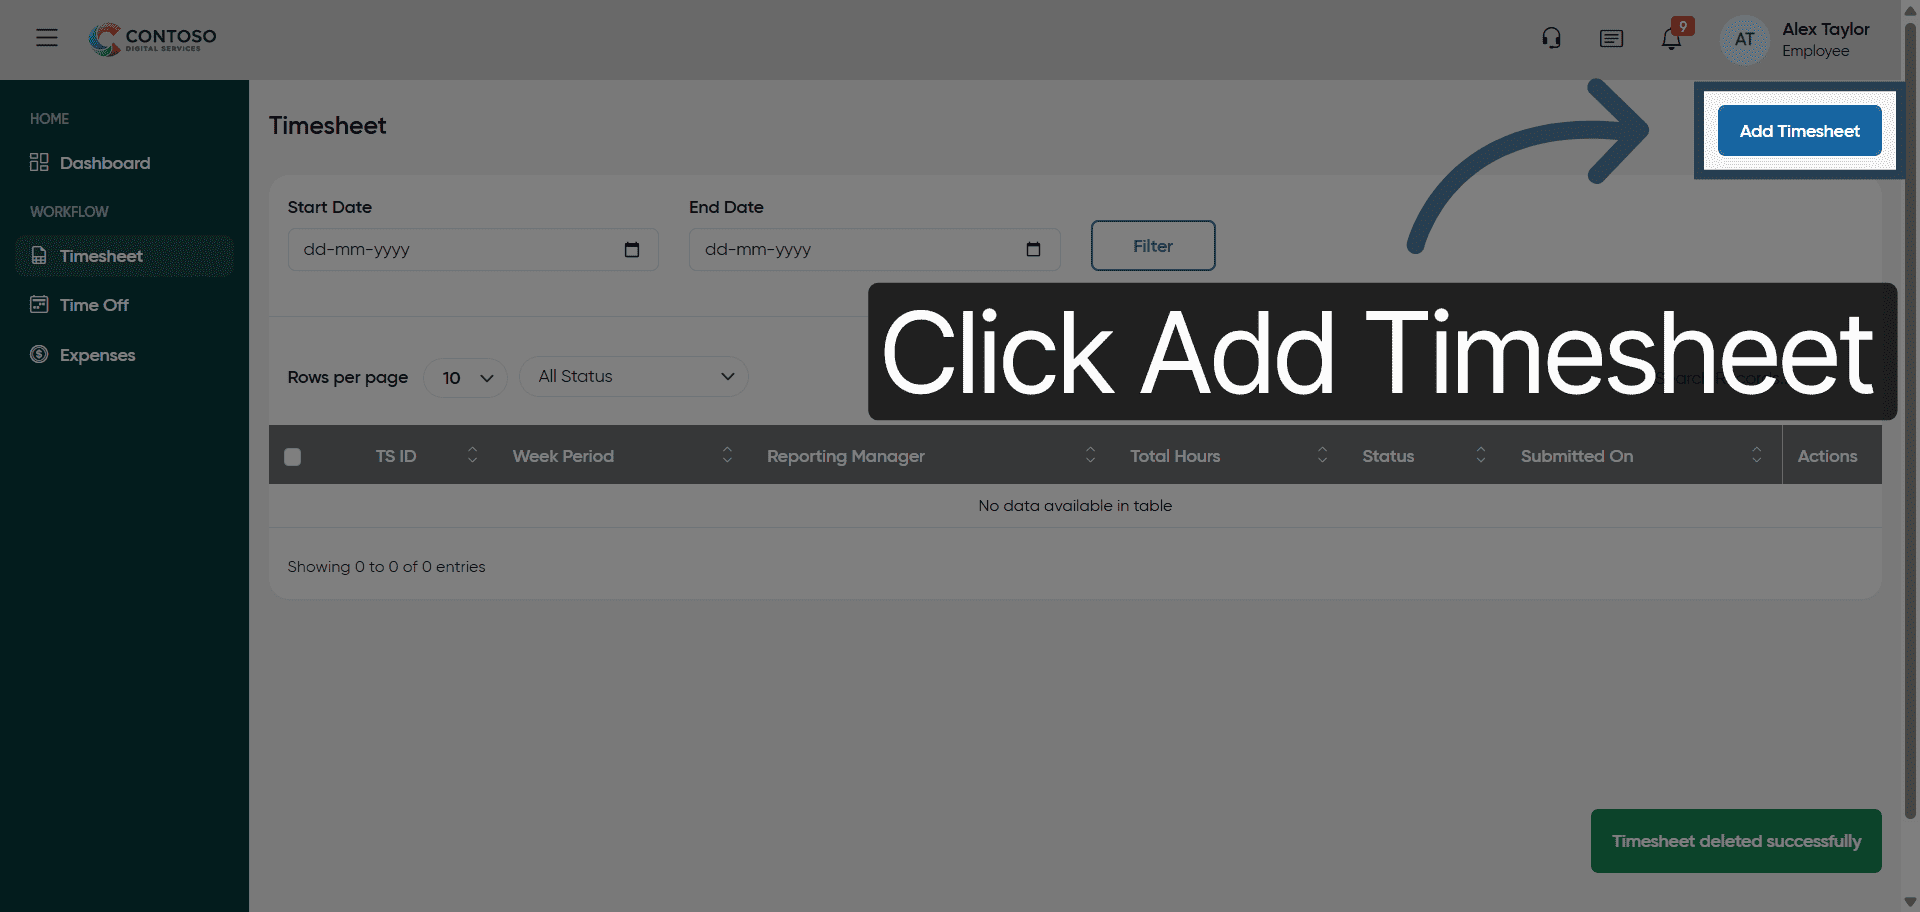
25. Add New Timesheet Entry
Click Add Timesheet to begin entering a new timesheet record after deletion.
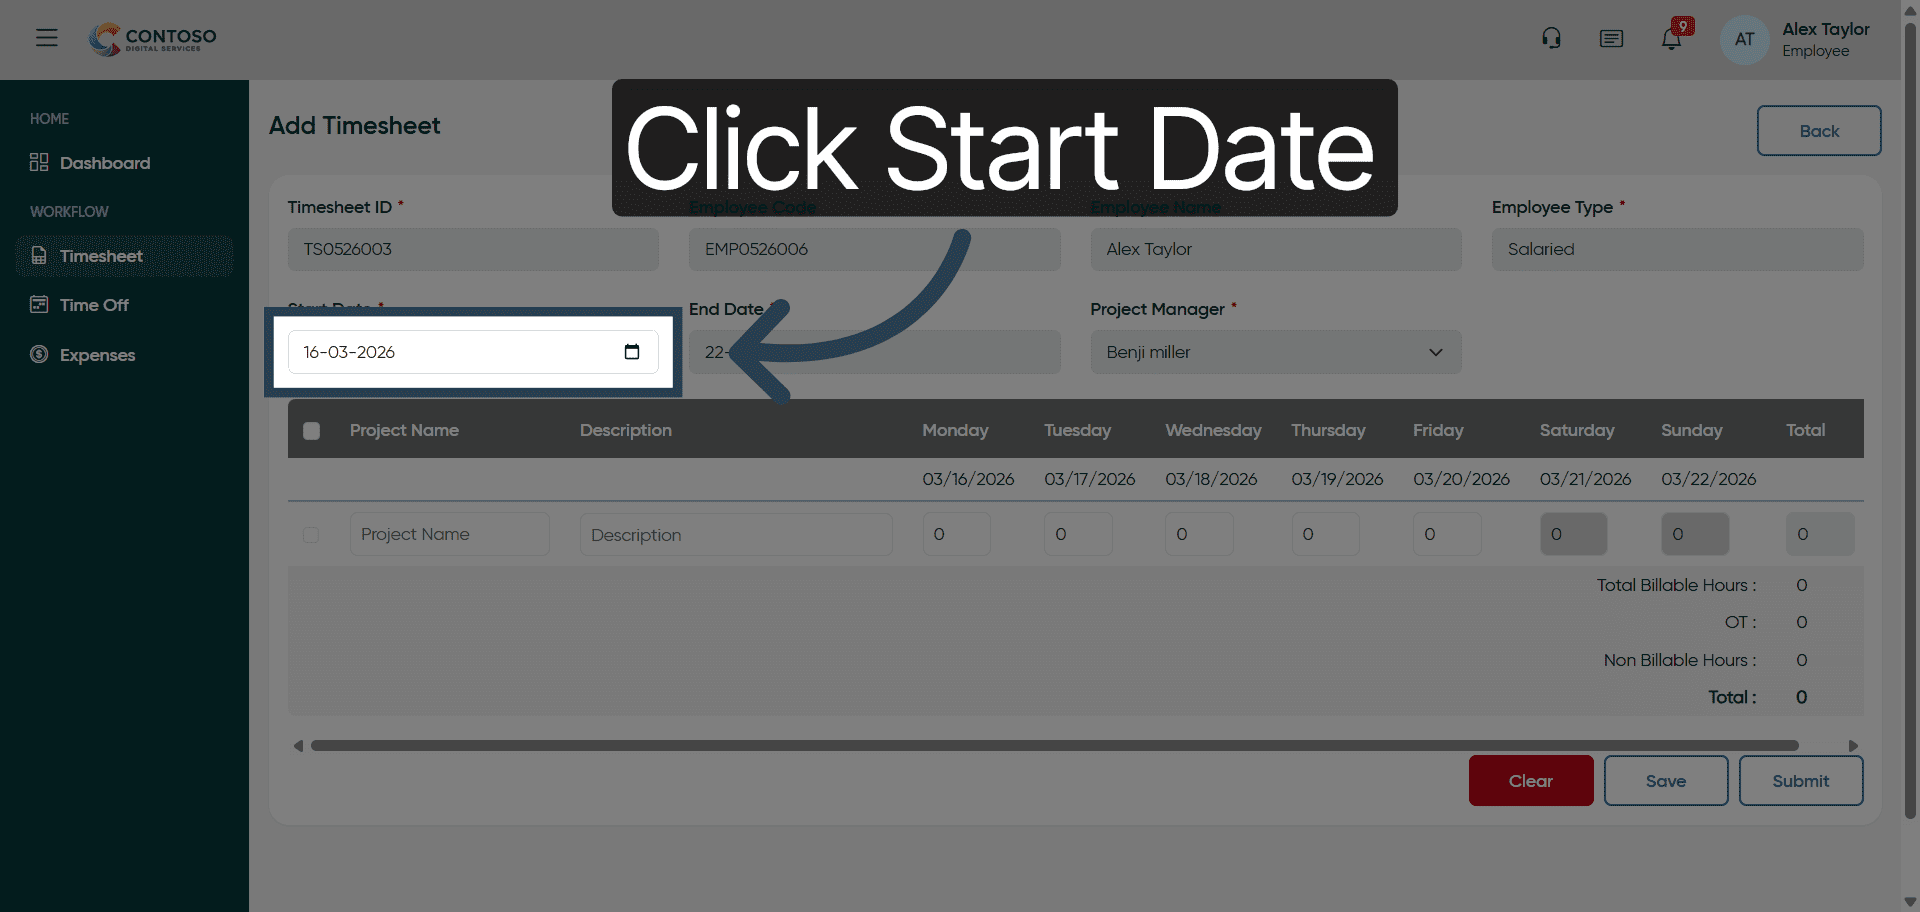
26. Select Start Date Field
Click the Start Date field to specify the beginning date for the new timesheet entry.
27. Enter Start Date
Enter the start date as 2026-03-09 for the new timesheet entry.
28. Select Start Date Field Again
Click the Start Date field again to correct or confirm the date.
29. Fill Start Date Field
Fill the Start Date field to ensure the correct date is set for the entry.

30. Select Start Date Field Once More
Click the Start Date field once more to finalize the date selection.
31. Enter Start Date Again
Enter 2026-03-09 again to confirm the start date for the timesheet entry.
32. Select Project Name Field
Click the Project Name field to specify the project for this new entry.
33. Begin Project Name Entry
Begin typing Pro to search or enter the project name.
34. Complete Project Name Entry
Fill Project one as the project name for this timesheet entry.
35. Navigate to Task Field
Navigate to the task field to specify the work performed for this entry.
36. Enter Task Description
Enter Testing as the task description for this timesheet entry.

37. Navigate to Hours Field
Navigate to the hours field to input the number of hours worked.
38. Navigate to Additional Hours Field
Navigate to the additional hours field to input extra hours worked.

39. Navigate to Overtime Hours Field
Navigate to the overtime hours field to record overtime hours.
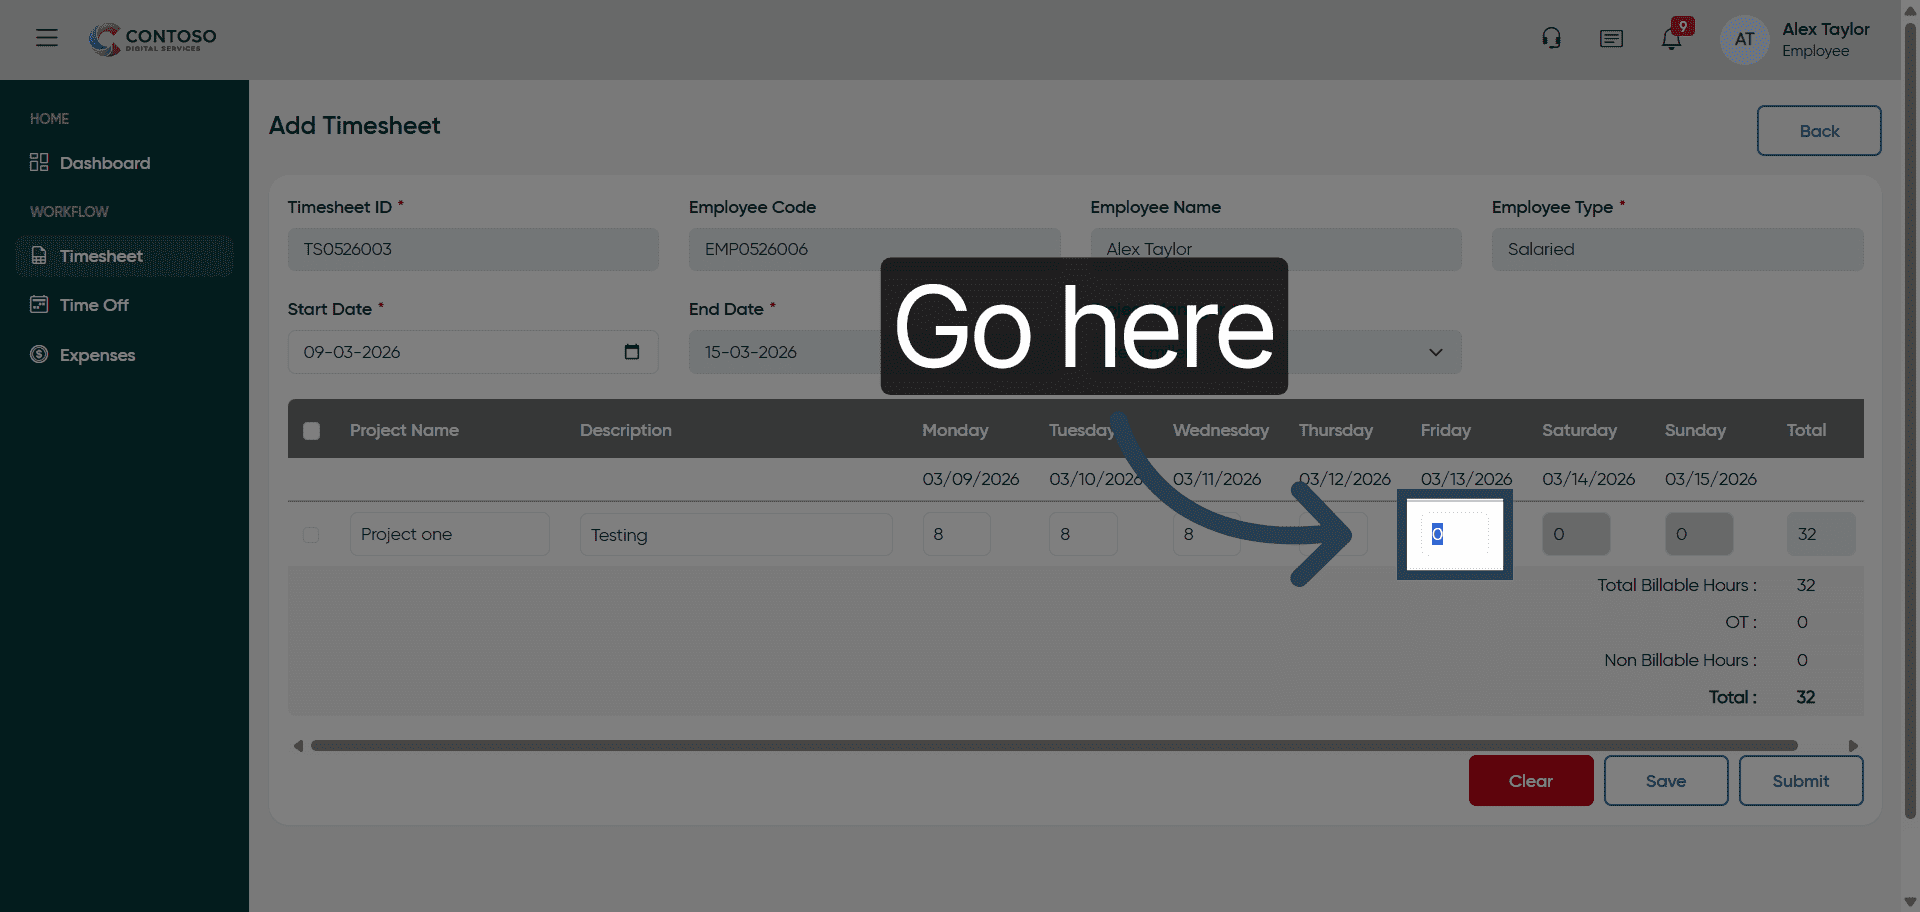
40. Navigate to Final Hours Field
Navigate to the final hours field to complete the hours entry.
41. Navigate to Hours Input
Navigate to the hours input field to enter the total hours worked.
42. Enter Hours Worked
Enter 8 as the total hours worked for this timesheet entry.

43. Submit Timesheet Entry
Click Submit to finalize and send your timesheet entry for approval.

After completing this training, you will be able to accurately log, edit, and submit your timesheets using Office1solution. Practice these steps regularly to ensure precise time tracking and efficient project management.